
| Long time no update, sorry about that but I've got a NEW PROJECT! |
| First some background information. I sold my V12 racer, yes i had a grown up moment. |
 |
 |
The new owner takes it for a test drive before he buy's the car. You should always do that so you know what you are getting into. |
| Test drive went OK so he gave me some money and loaded up the V12 in the back of a truck. |  |
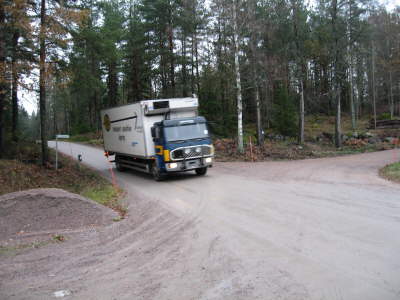 |
Then they headed for home 700km north of where i live. |
| I saved up some money and bought myself a 1956 Coupe Deville Cadillac (a dream car of mine), but that a completely other story. I will tell you more another time | 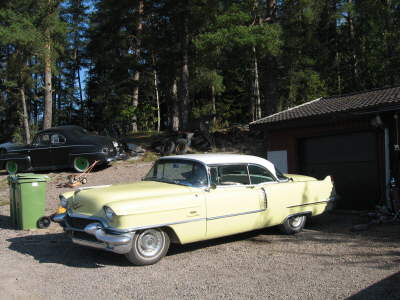 |
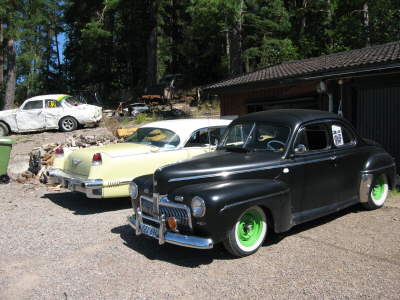 |
During the spring 2007 i got a chance to buy another dream car, but i had no money left. So i had to sell my 42 Coupe. |
| Here is the new owner with the Coupe, he is a friend of my youngest son, and lives 2 miles from me so i can go over and look at the car anytime i want. Its nice to see the new generation taking over. Even that he repainted the wheels in copper and changed to radials, it his car now you know ;-) | 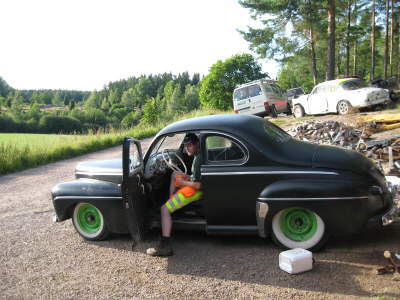 |
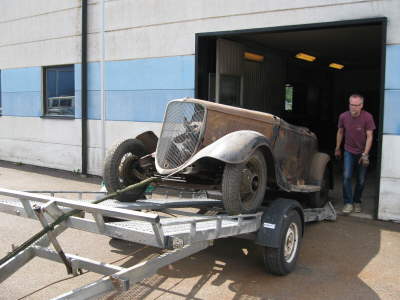 |
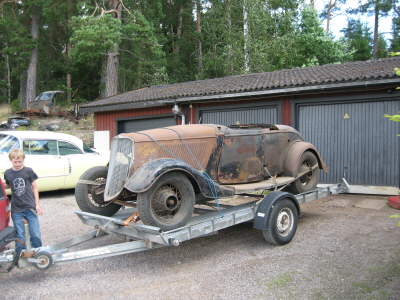
This is what i bought for the money ;-) A 1933 Ford Roadster, if someone asked me if i would own a 1933-34 Roadster in my life i would have said NOWAY. but now i have one ;-) Funny how it goes. |
| Seller and happy new owner (me to the right), i got my oldest grandchild helping me collecting the car. Had to bribe him with some candy, to get him to load up all the loose parts ;-) | 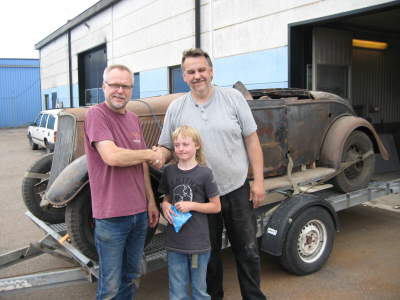 |
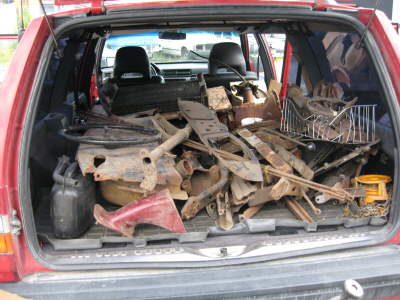 |
The roadster is quite complete, just a lot of parts in boxes and cans. |
| My wife volunteered to take the shiny parts in her car. Yes i told her that i bought a new car. She was not so happy since i have two roadster and a VW Cabrio, but i said no problem the caddy have a roof and heater, good for the Swedish summers ;-) |  |
 |
When i got home is was sorting time. |
| A lot of stuff that i did not have a clue of where and what they are good for, but I'm a fast learner. | 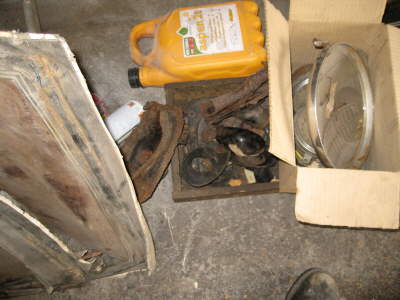 |
 |
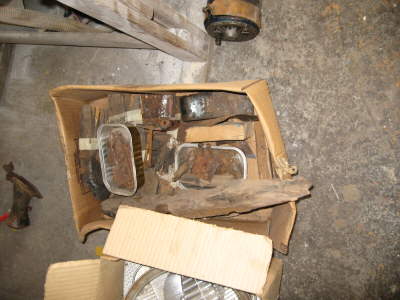
Think this is for the gas
gauge, and some odd bolts. |
| During the shipping from Texas the rumble seat was damaged. So there is some work on that one to. | 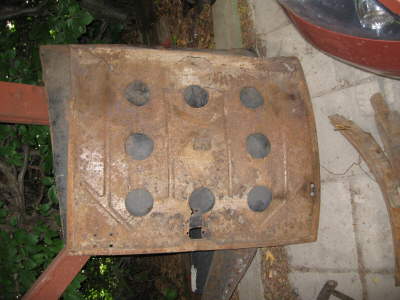 |
 |
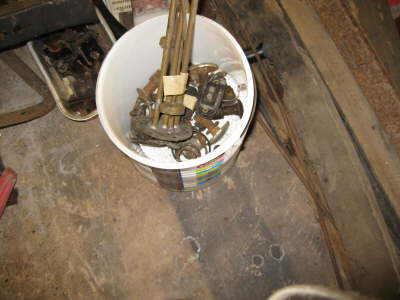
Another box with door stuff. |
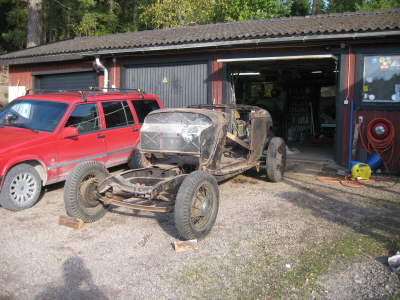
| The roadster safe at home, ready for unloading..
|
 |
 |
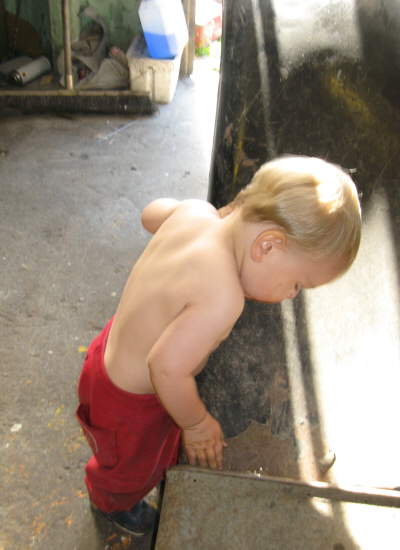
Mr B Brandow checks out the driver seat (unfortunately there was no seat so he had to stand up). |
| Here is Mr B checking out the fender gap, it's good with young helpers;-).
And i think it's good for them to learn a bit about old junk to. |
 |
 |
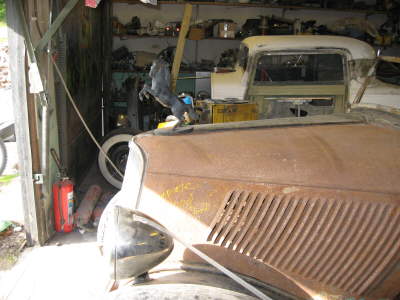
I took hundreds of reference pictures, to look at later on when my Altzheimer light strikes. |
| Something has happened behind the seat, maybe someone had mounted a roof or something a long time ago? | 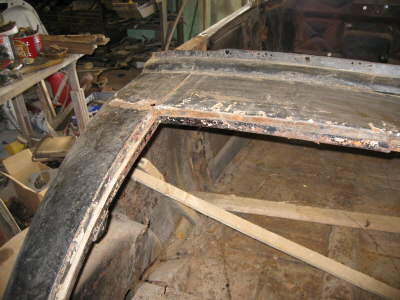 |
 |
The chassie is fairly good, and some repair work has been done sometime
during the years the car have spent here in Sweden.
|
| After photo documenting i disassembled the rest of the car. | 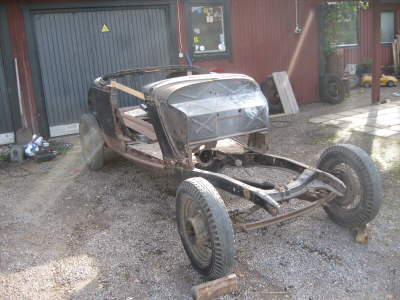 |
 |
You have to go backward to get forward. |
| There is some work on the floor also. But all the hard parts are there. |  |
 |
Found this horse on the radiator, i guess its beat's the Greyhound dog ;-) |
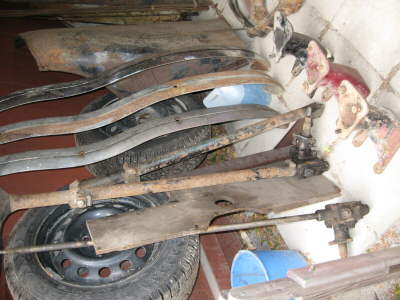
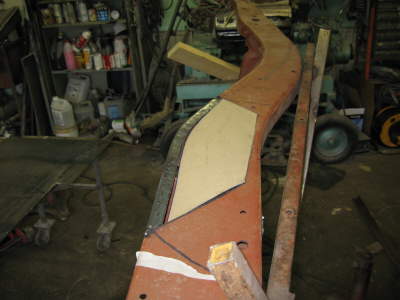
| The fender wells was in a bad state (read partially missing), and i need them in place before i replace the floor. So i know where to mount he body sides. | 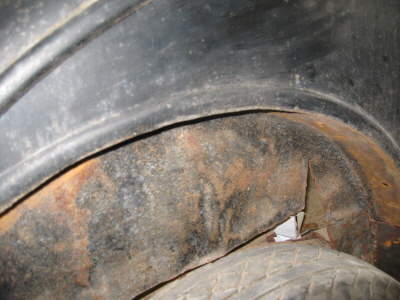 |
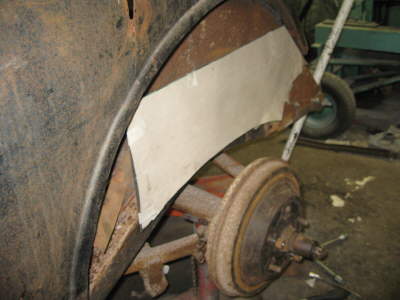 |
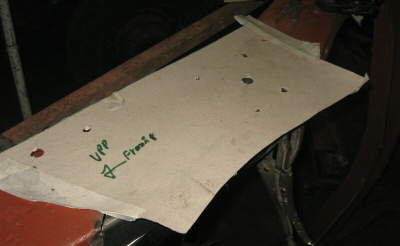
First a made a cardboard template (paper is cheaper than steel). |
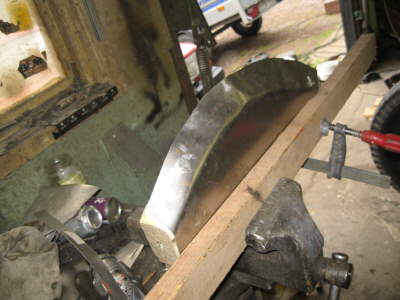
| When i was satisfied with the template i cut it out in steel. | 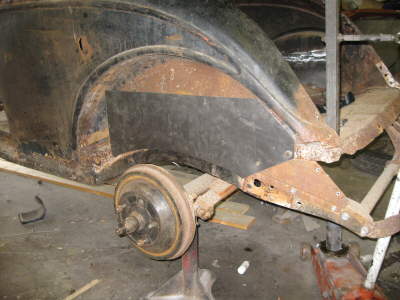 |
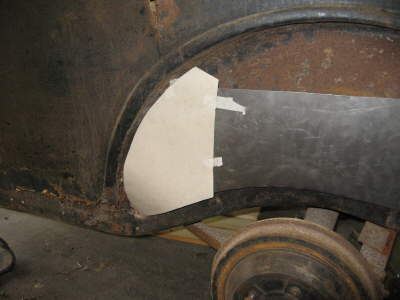 |
Then i made a new template for the front part, it's a bit more tricky to do since it have a bend in the front part. |
| I made a hammer form out of a piece of wood, and clamped the steel to it. | 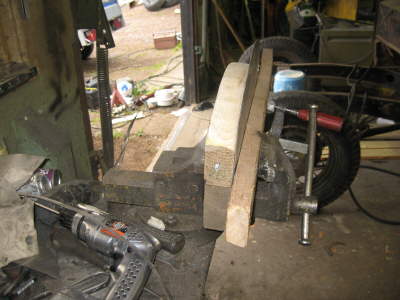 |
 |
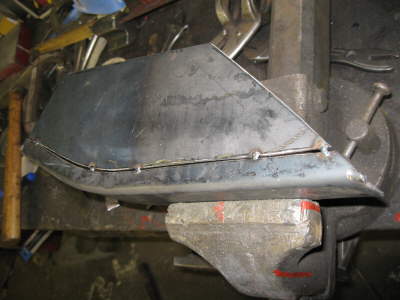
Then it was hammer time again, take it slow and easy. |
| It takes a bit of hammering, and you get some odd shapes like wrinkles, but that's ok in this case since that part will be cut off. | 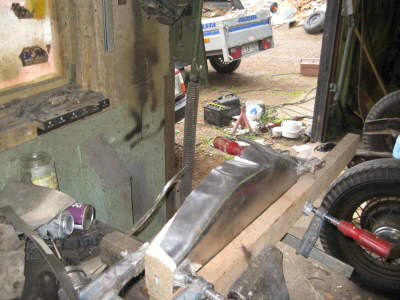 |
 |
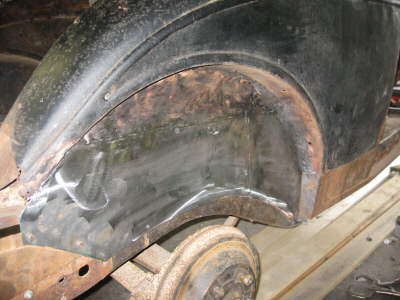
Looks like it was made for it, and i guess it was :-) |
| Some old school hammer welding, and the fender well is starting to look good. I will continue with the outer bottom part when i have replaced the floor. | 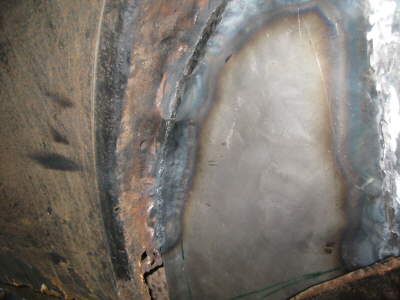 |
 |
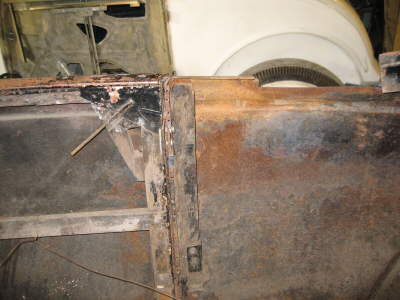
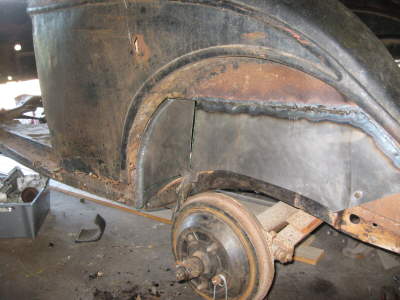
Did the same thing on the other side to. The owner before me had started to replace the lower rocker panel. |
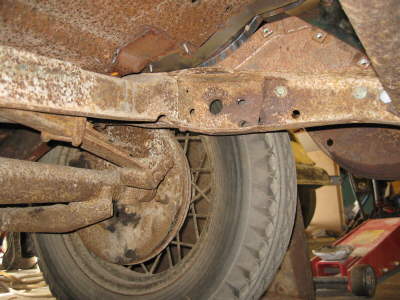
| After the first body work it was time for some frame repairs, everyone that have worked with 1933 and older Ford frames know that there usually is some rust in the rear where the X member meets the frame. No exception here. | 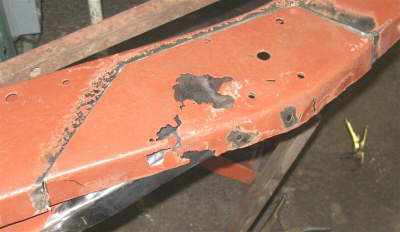 |
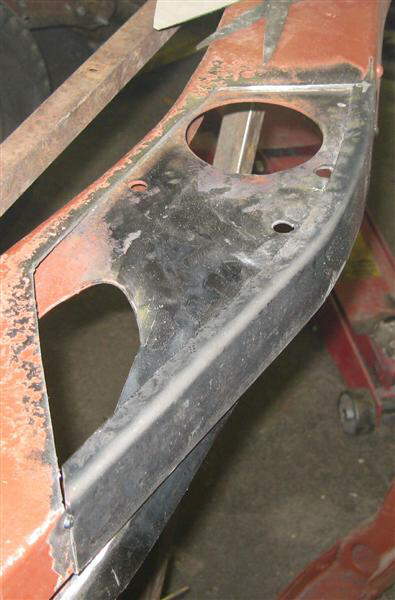 |
After repairing the X member part it was time for the frame.
First i made the lower frame part out of 3mm mild steel. |
| I use a two angle iron pieces clamped in a bench wise. And some more hammering (use BIG hammer). if you do a bit at a time going back and forth it's quite easy. | 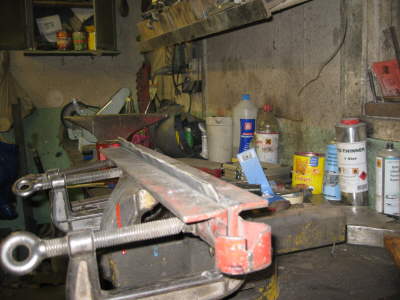 |
 |
Some more use of cardboard to make a new template. |
| It takes some fitting, to get the right gaps for welding. | 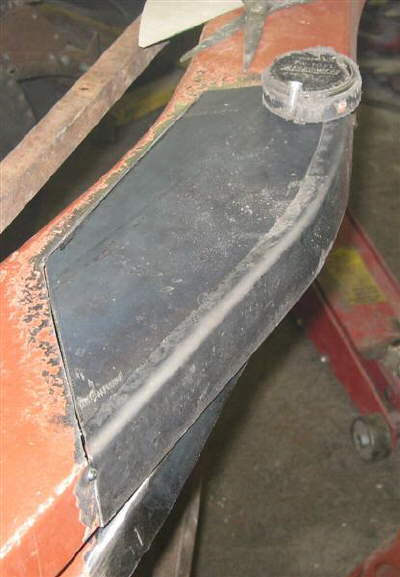 |
 |
I tacked the parts together, and welded it of the frame to get as good weld as possible. |
| Remember Penetration is the name of the game. | 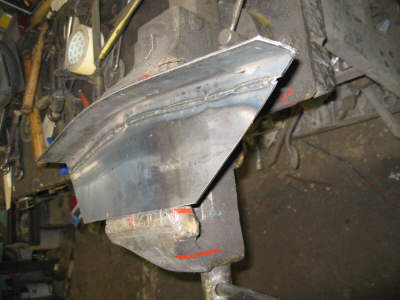 |
 |
Before i cut out the bad part, i made another template for the holes, so i could drill the holes in the right place. |
| With the parts rust proofed, it was time to weld everything together. I grinded part that will be riveted together. | 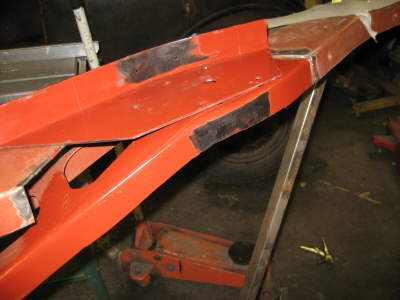 |
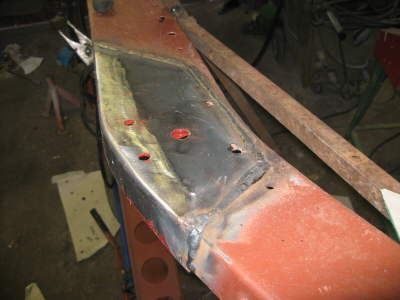 |
Welded in place, i used some steel bars welded to the frame to prevent it to bend out of shape. |
| Ok This will end my first post on this new project, next i will fix the front and rear axle. | 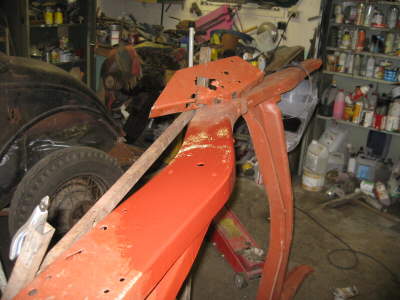 |
Copyright © 2008 Flatlanders, All rights reserved.
No pictures on this home page may be reproduced without written permission of the WEB master.