
| The project is still going full speed ahead. I'm only repairing
parts at this stage. since I will try to get
all the paperwork done and get the car thru Svensk Bilprovning (Government inspection). So if you think I'm taking shortcuts, please have patience I will do it properly later. And its nice to be able to drive it in the summers and do repairs in the long Swedish winters. |
| First i only cleaned up the steering column, but later i had to replace the bearings to get it work properly. |
 |
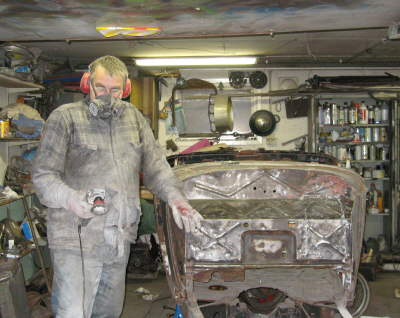 |
I cleaned up the firewall with a wire brush on my angle grinder, and there was quite a bit of good old Bondo on it. |
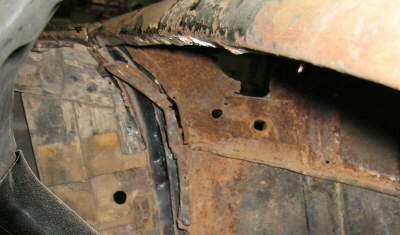
| Check out the "homemade" battery shelf that have been "restored" to original. It was quite common to do this battery shelf modification. | 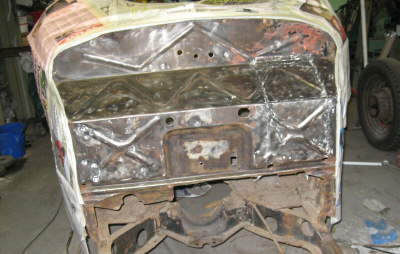 |
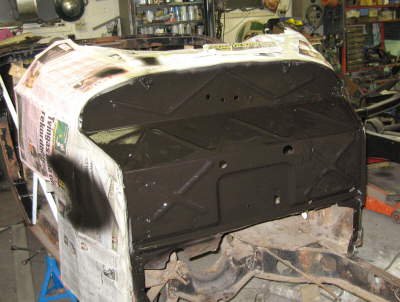 |
A quick masking and some more flat black paint. |
| I sprayed the rear fender wells also to get the same feeling as the rest of the junk. | 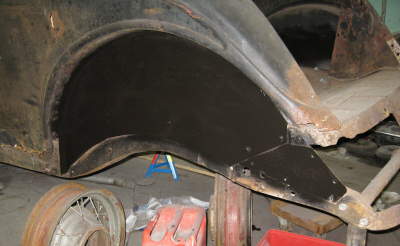 |
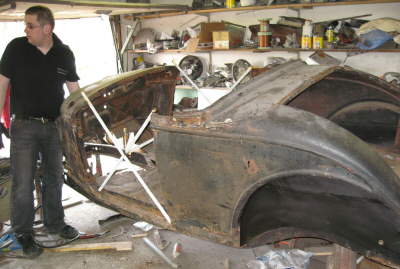 |
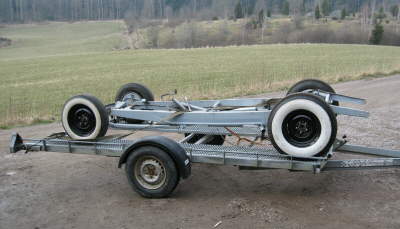
Mikael helped me to lift over the body to the original frame, from
the old junk frame i had borrowed.
|
| A quick roll out to check out the "new" car. The grandchild's had to test it to. | 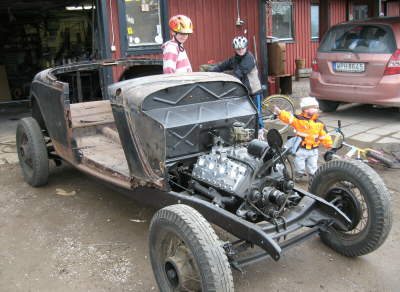 |
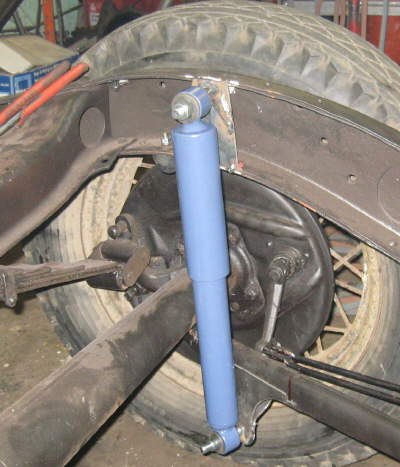 |
Do you remember the shock mount's? |
| Well they did not work out perfect :-( But instead of adjusting the mount i cut a couple of holes in the rusty floor. Will cover them with some steel later on. And when i do it properly when i repair the floor. | 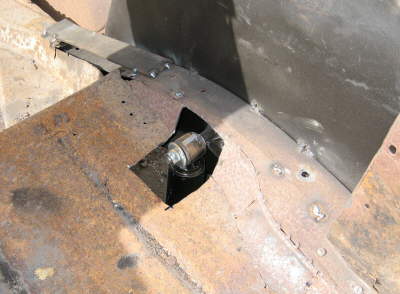 |
 |
Henrik came with his 32 Chassie, so the 33 project halted for a couple of weeks. |
| After taking it apart and painting all the parts separate, he assembled it again and was of to his place | 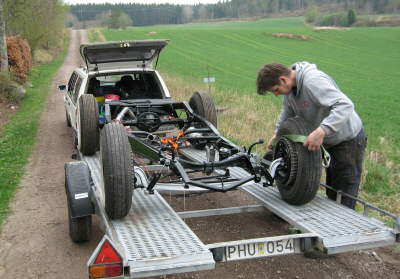 |
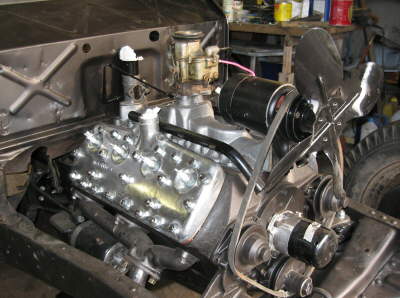 |
Back in the garage it was time for the engine startup. |
| First i had to clean up the Lucas Dizzy. it's NOS, but it needed some sanding of the points, to start working. | 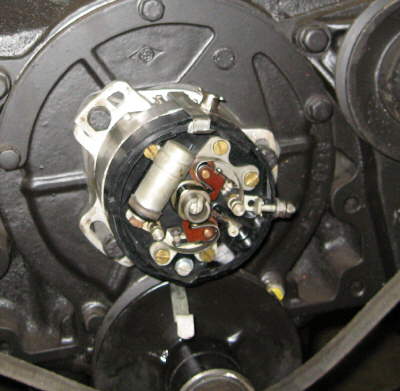 |
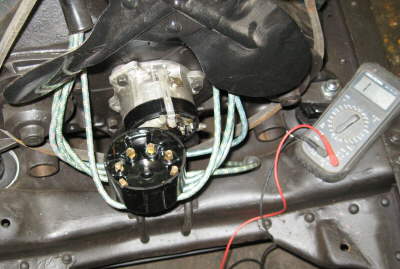 |
I added a set of original type cables, I mounted one cable at the time. And checking with the Ohm meter after each cable. |
| Last but not least the wire from the coil was added. | 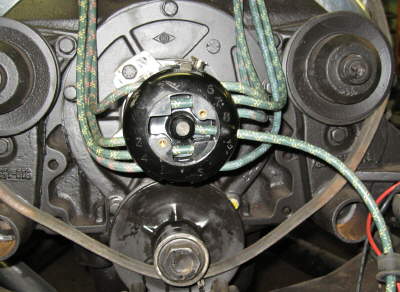 |
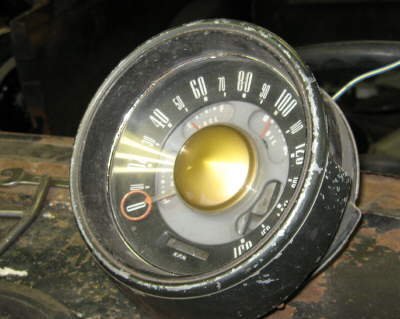 |
I hooked up an old oil pressure gauge, for the first startup, of my "renovated" engine. |
| Added a rubber gas line from the fuel pump thru a hole in the firewall.
|
 |
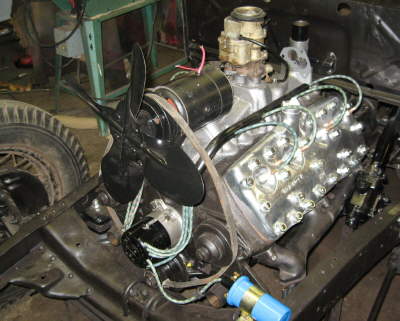 |
Checkout this link for some moving pictures of the engine running
First startup |
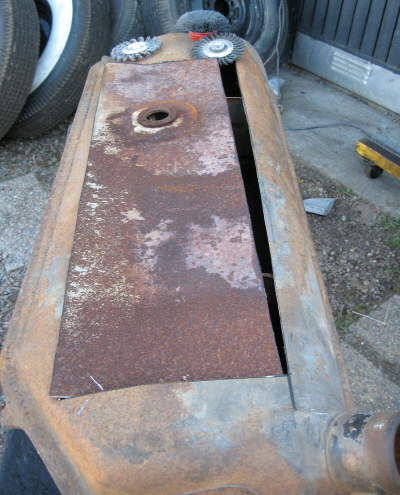
| A quick check of the fit of the gas tank, I realized that i had to open it up for a cleanup. | 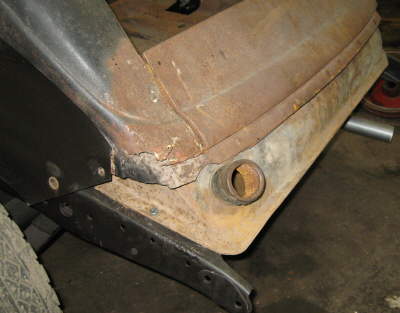 |
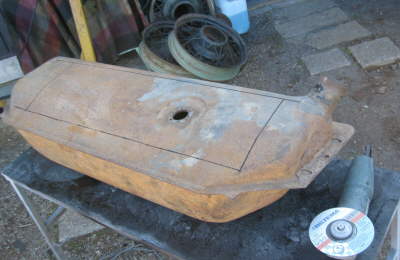 |
I marked for a hole on the top side. |
| To cut the hole i used a thin disc (1 mm thick). | 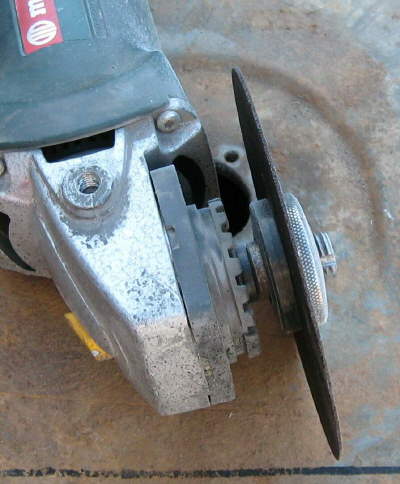 |
 |
Opening up the tank, showed that it was full of rust.
|
| Quick a lot of rust. | 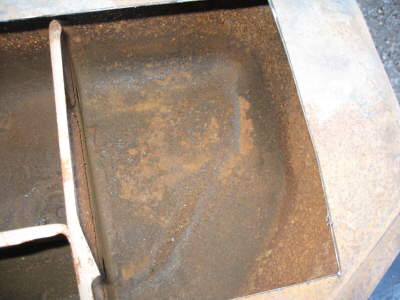 |
 |
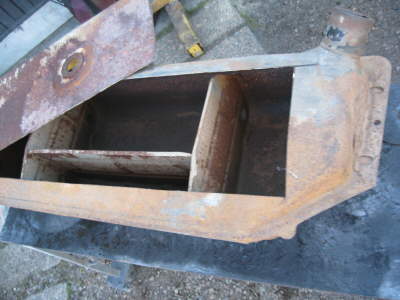
Even the "lid" was full of rust. |
| Be sure to tuck in the shirt, not harm done this time, but be sure to use proper protection. | 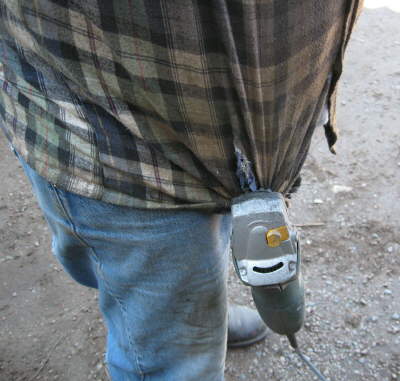 |
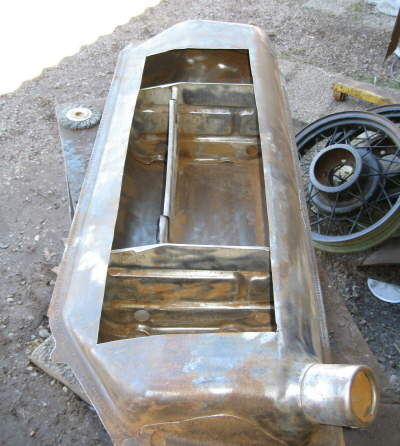 |
One hour later it looked better. |
| Cleaned it out with water and let it dry in the sun. There will be more on this later on. | 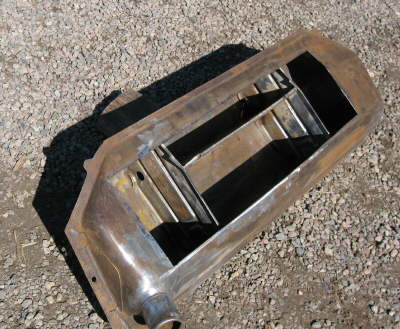 |
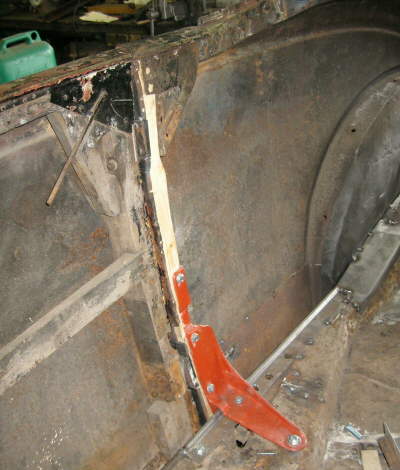 |
Time for some woodwork, |
| I had a bit of the old door post wood, and recreated a new door post. | 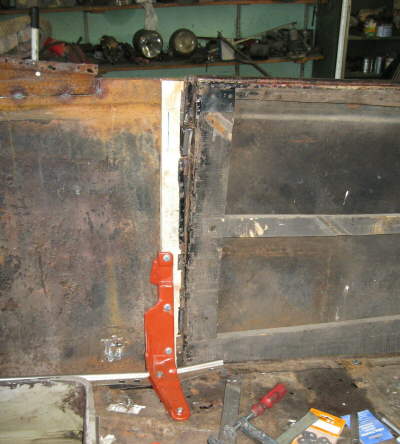 |
 |
Many hours to get this fit of the door, but it's needs many more hours to get it perfect. but it will do for now. |
| The wood in the door has probably been replaced over the time. Nice work though. |  |
 |
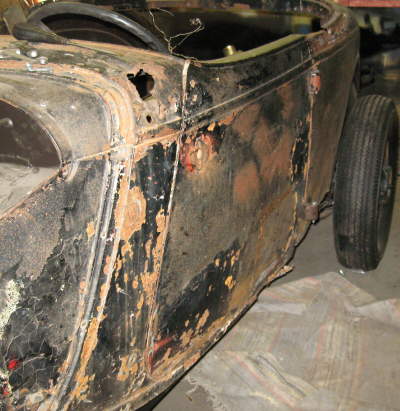
As you see there is more work to get the doors to fit in the front. But this will have to wait until the next Webb update. |
Copyright © 2008 Flatlanders, All rights reserved.
No pictures on this home page may be reproduced without written permission of the WEB master.
