
| The project is still ongoing, And I'm glad to say the i have
got the paperwork from Vägverket so when i write this i need to get
the lights working so i can
get the car thru Svensk Bilprovning (Government inspection). If you think I'm taking shortcuts, please have patience I will do it properly later. And its nice to be able to drive it in the summers and do repairs in the long Swedish winters. |
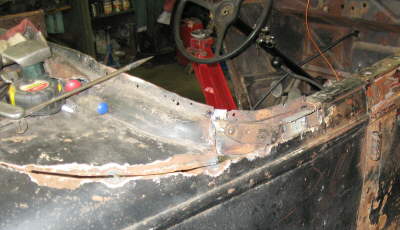
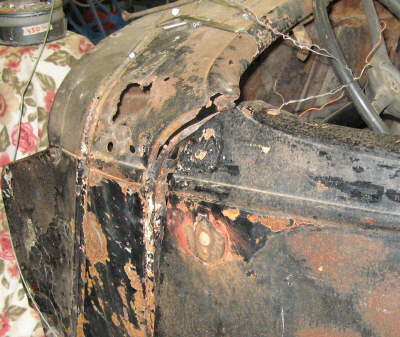
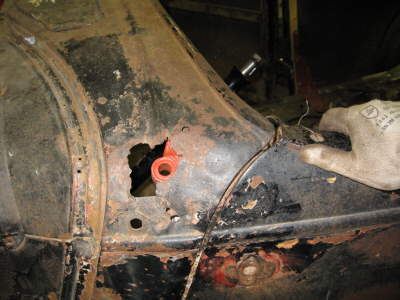
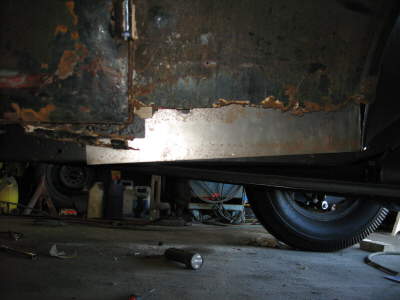
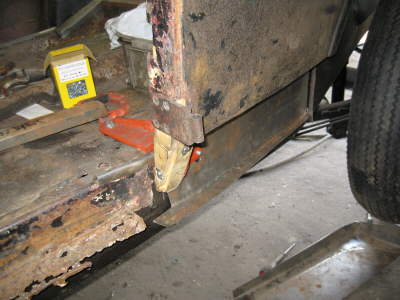
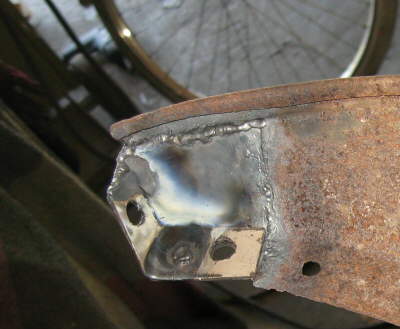
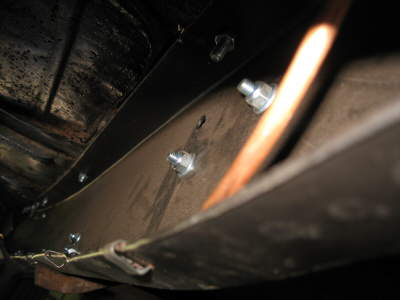
| With the door post's in place it was time to work on the cab mounting points. Since someone had cut of the corners i could access them quite easy. |
 |
|
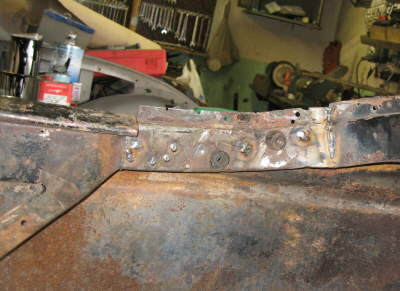 |
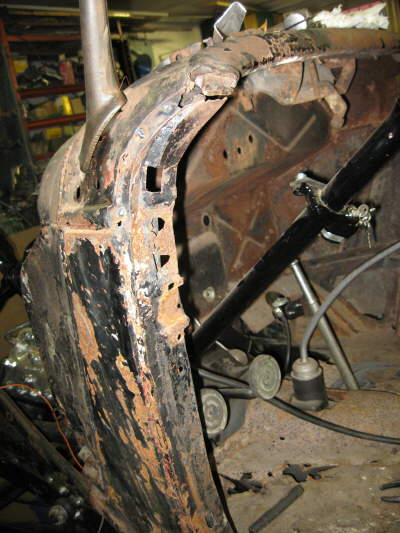
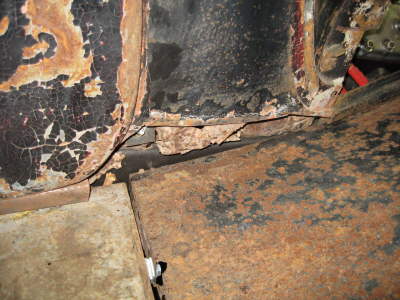
Some grinding and it will look good | |
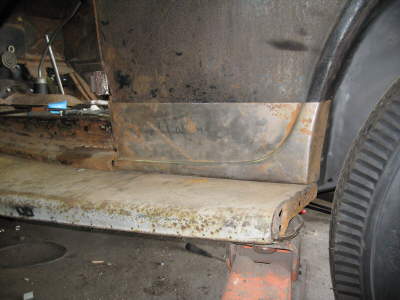
| The it was the other side to do. | 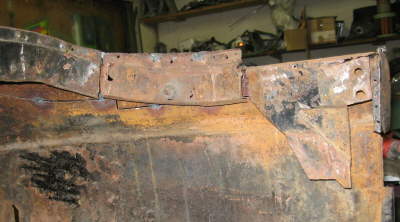 |
|
 |
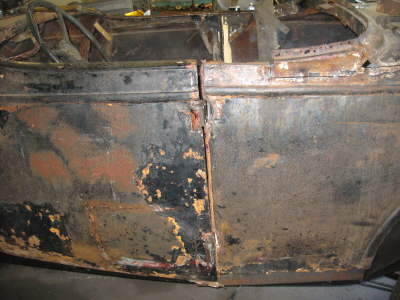
I have asked a friend to make new corners for me so i can replace this battered corners. So it will do for now. | |
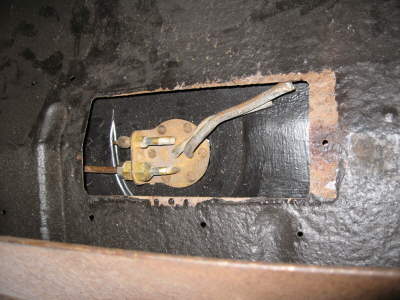
| I have to do something with the door lock's, I guess this work, but i want something made in steel. | 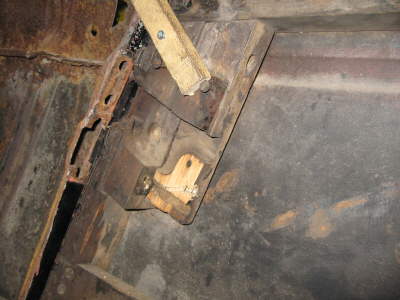 |
|
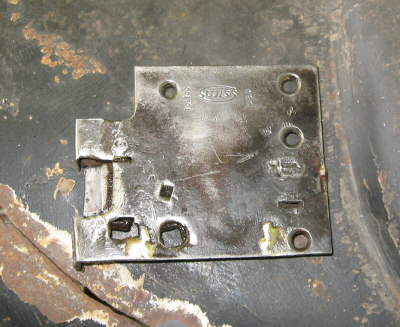 |
The old door locks needed only some oil and minor fixing to work. | |
| I will restore them properly later. | 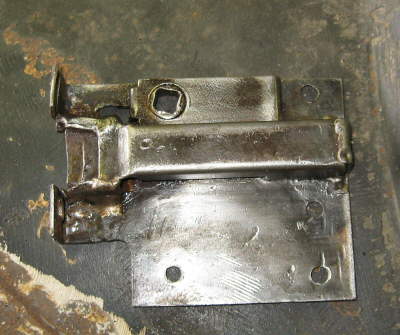 |
|
 |
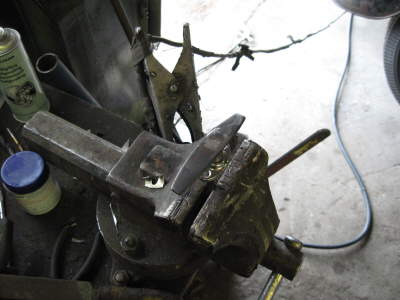
Now i can lock the doors again. | |
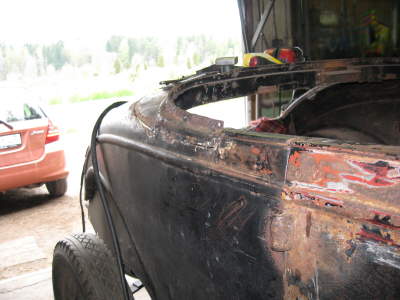
| . The left door fitted quite poorly. | 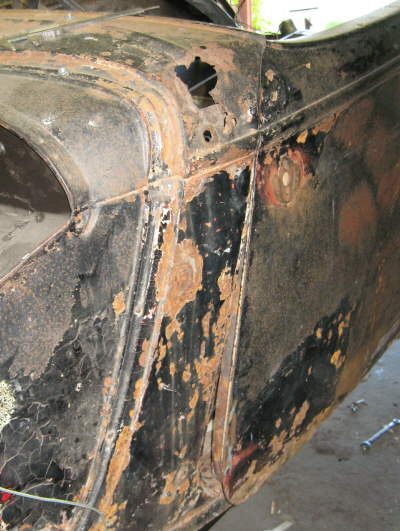 |
|
 |
The body was damaged during the shipping to Sweden. and i guess it's seen some wear and tear before that to. | |
 |
||
 |
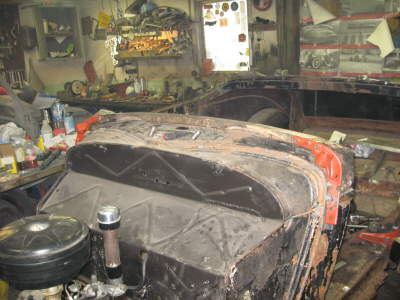
Ok when the BIG hammer don't work, use a floor jack. | |
 |
||
 |
. | |
| Now it looks better, but i must dismantle the door and restore the wood, to get it perfect. | 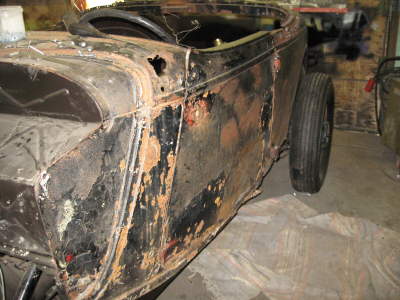 |
|
 |
I removed half of the washers after this picture was taken, still some major adjustment. | |
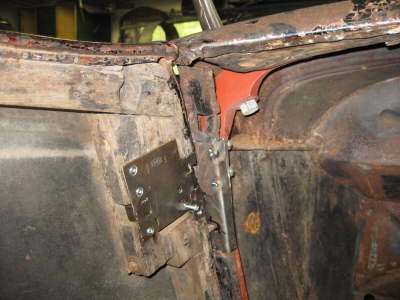
| Picture of my temporary homemade doorpost. | 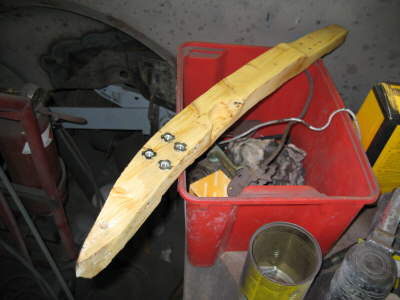 |
|
 |
I made a piece steel that fitted from the floor and a bit down over the frame. | |
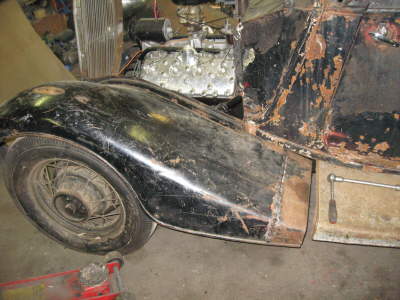
| To get the outside to fit i needed to mount the running board. | 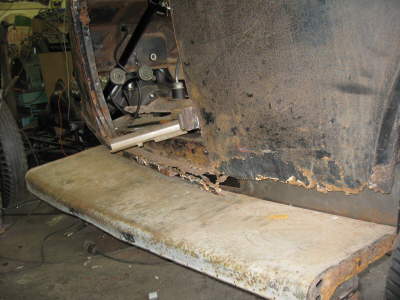 |
|
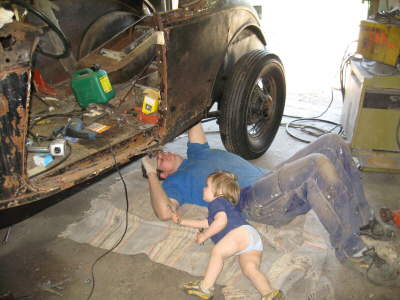 |
My youngest son gave me a hand here, and his son is giving him a hand. isn't it great when the generations help each other out :-) | |
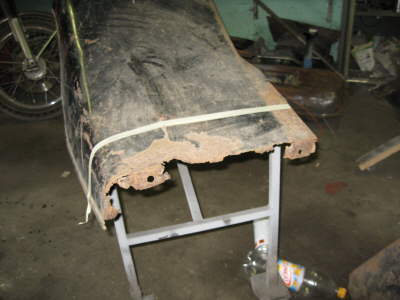
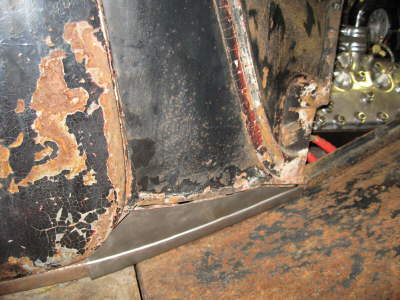
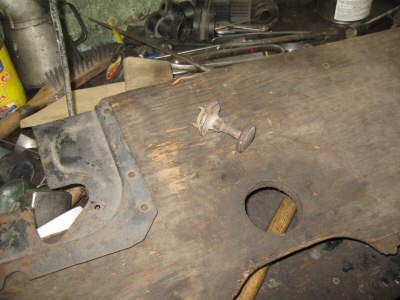
| Got this with the car, so a quick scribe on the rusted body. | 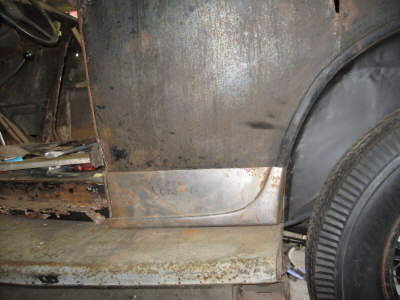 |
|
 |
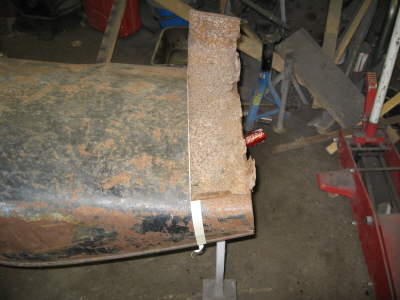
Some cutting and its looking better already.
|
|
 |
||
 |
A picture of the inside piece. | |
| Other side was much easier to get to fit. | 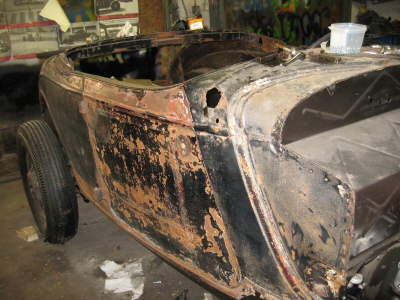 |
|
 |
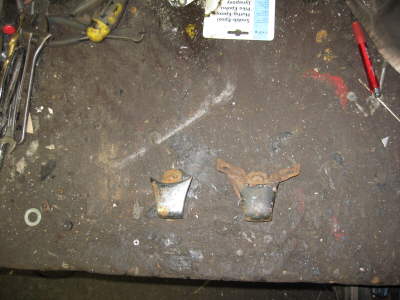
Here is the mounts for the window post, yes i know it should be mounted on the underside. | |
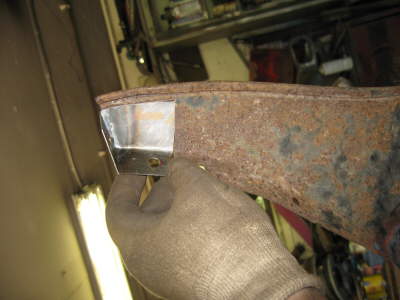
| The right side door had some rust in the bottom, and the wood had rotten away to. | 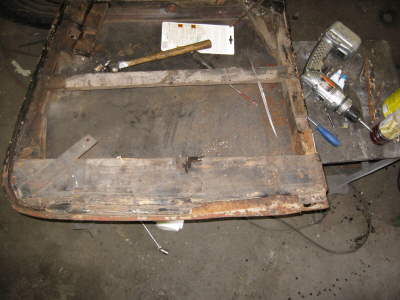 |
|
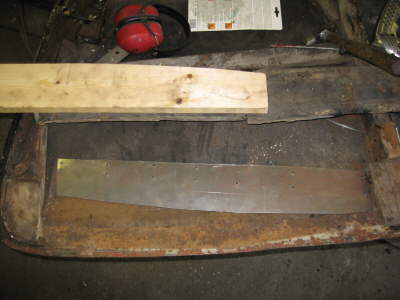 |
So i made a new bottom part, and cut out a bit of sheet metal. | |
| Used wood screws and mounted the steel part on the wood. | 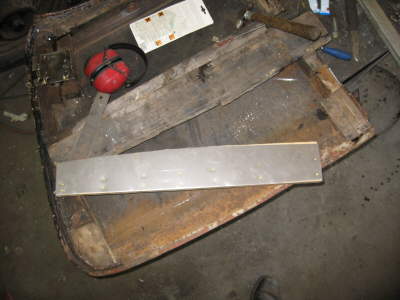 |
|
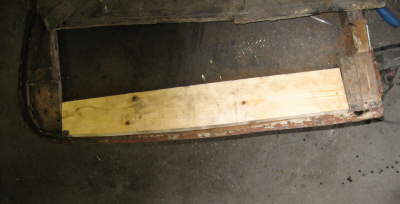 |
The new steel piece stick out half an inch in the bottom, and is stuck into the bottom of the outer skin, keeping everything in place in place. | |
| The wood piece also keep draft out of the car, working as the door bottom. | 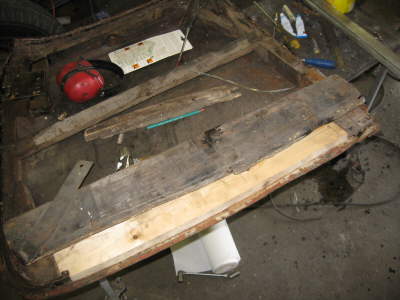 |
|
 |
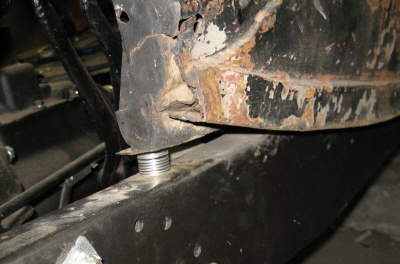
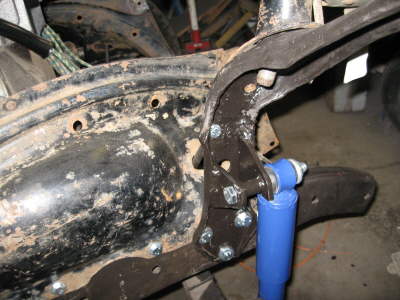
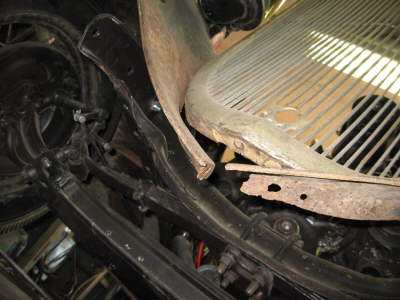
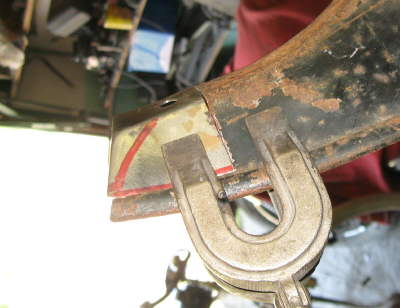
Then it was time for the upper front upper shock mount. | |
| I used the fender mount to attach the schockmount to. |  |
|
 |
||
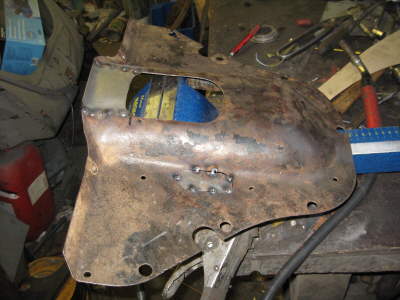
| Right front fender was missing when i bought the car, so i managed to lay my hands on this new one, with a small crack in it. | 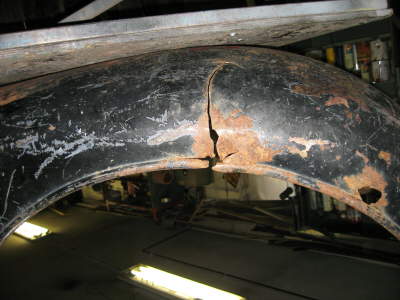 |
|
 |
Welded up the crack, and added a patch for the hole. next time i will replace a bigger piece of the material around the crack, because the crack was caused by metal fatigue, and will crack again if not replace wit new material. But it will do for now. | |
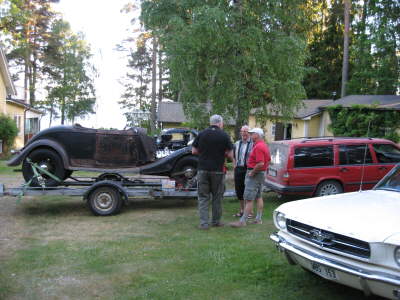
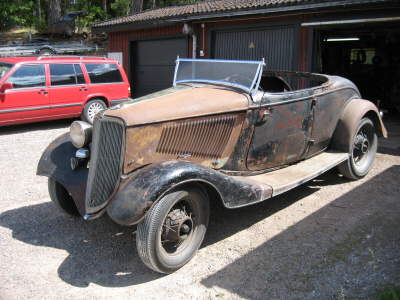
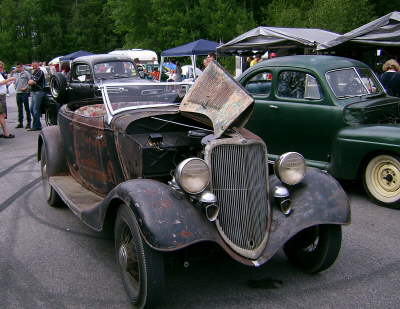
| A small break in the work was when i loaded up my Ford, and went over to a meet with Linköpings Antikbilsklubb. Its a club for 100% Original restored cars (yes I'm a member there to ;-) ) | 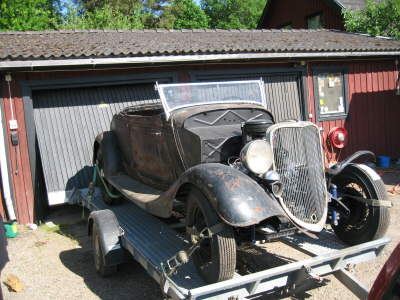 |
|
 |
||
| They where all over it checking it out. | 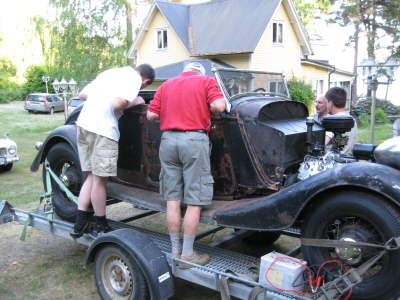 |
|
 |
Back home again, and of the trailer. | |
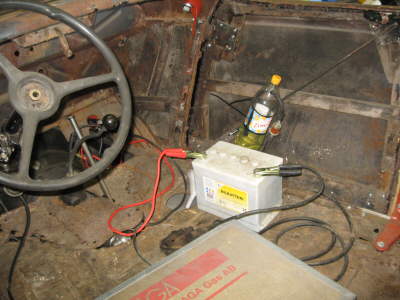
| It was uphill from the trailer into the Garage, and we did not want
to push , so some cable and a bottle of gasoline, and of we went. Not so
far but i did not have to push.
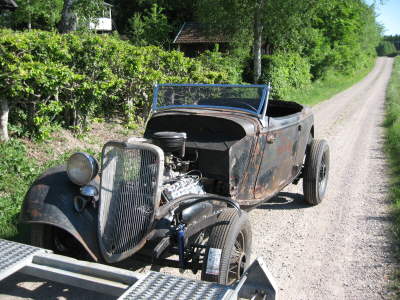
First Test drive It was short and sweet since didn't have the radiator mounted. |
 |
|
 |
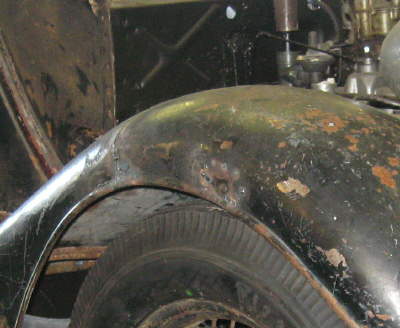
Then it was time to fix the left fender. Rear part was a bit rusty. | |
| Fortunately i got a couple of spare fenders that was missing the front part when i bought the car. | 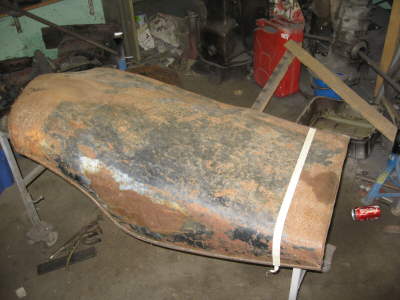 |
|
 |
I placed the cuts so the fender still had the right length. | |
| Then it was only the part of welding in the new piece. | 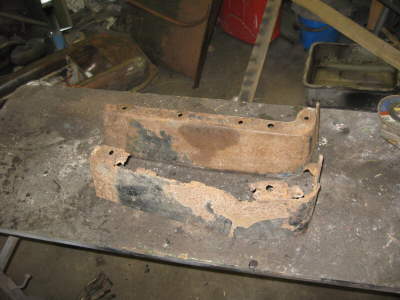 |
|
 |
||
| A bit of hammer welding, and it was OK. | 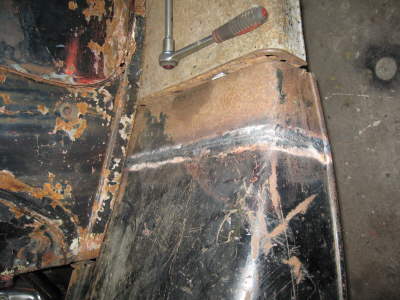 |
|
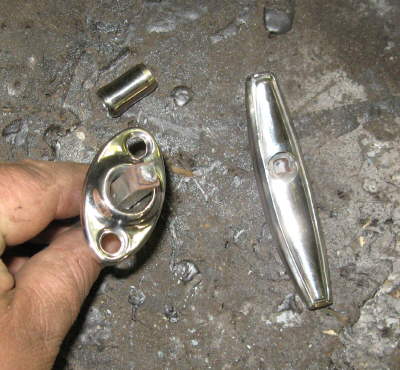 |
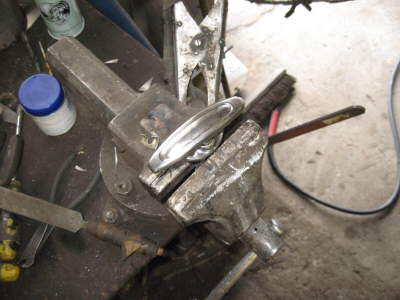
This is the new Repro door handle from Macs, i opened the door two times. Then it fell apart!! | |
| I thought of sending it back , but i needed the handle, so i dismantled it. | 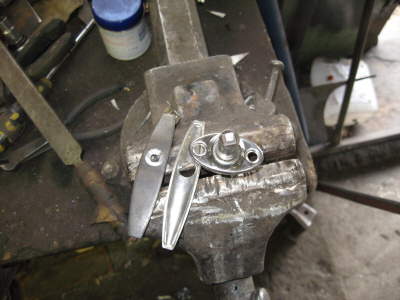 |
|
 |
Welded back the steel part, not forgetting the stainless backside. | |
 |
||
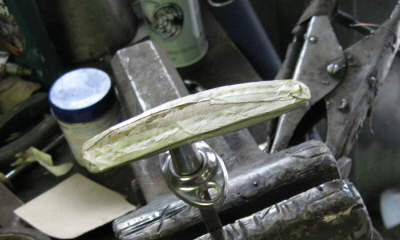 |
I Added some masking tape. | |
| So i didn't do any marks when i assembled the parts again. | 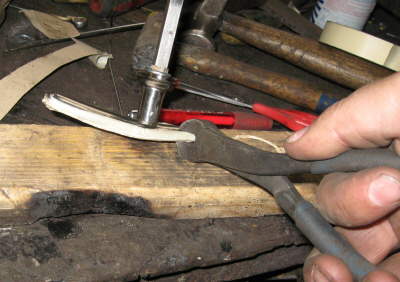 |
|
 |
Ok the front of the left fender was missing to. | |
 |
||
 |
Made a piece for the front part of the fender. | |
 |
||
 |
Added an extra piece on the inside, to get some strength. | |
| I had to get a new shorter fan also. | 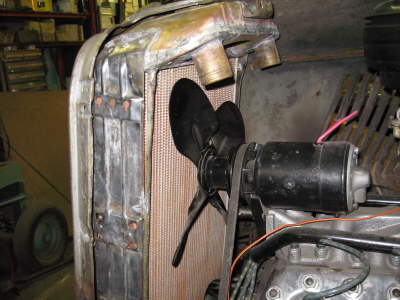 |
|
 |
The lower front part was not fitting either. | |
| Some hammering and paint and it was OK. | 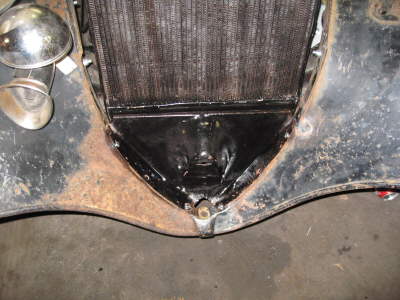 |
|
 |
||
| I said it before, paper is cheaper than steel | 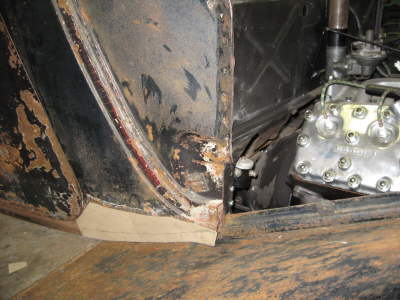 |
|
 |
This is just a fix, so it will look better when i get the car thru inspection. | |
| I will make this much nicer next time. | 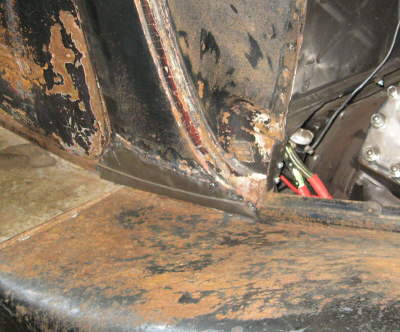 |
|
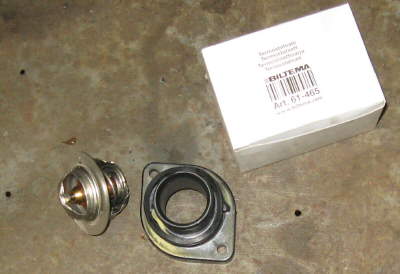 |
Found the thermostat with the right diameter, at Biltema. Its for some French car, and cheap :-) | |
| 89 degrees Celsius. | 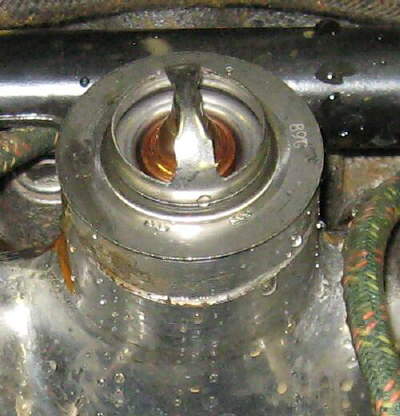 |
|
 |
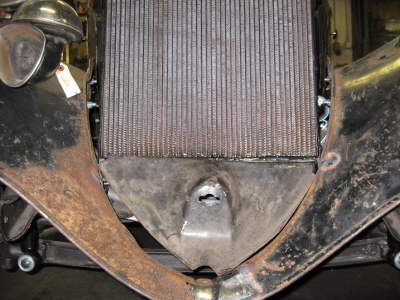
Drilled a 3mm hole, to let air thru, when filling with water. | |
| Ok so i thought i could weld! And painted everything before assembly ;-) | 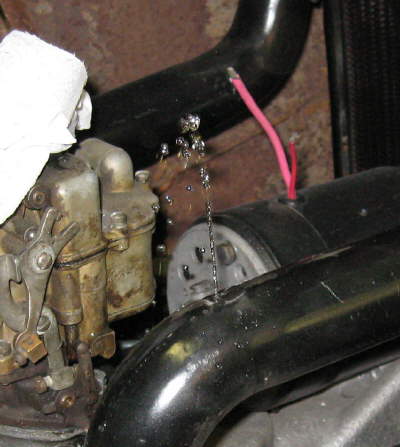 |
|
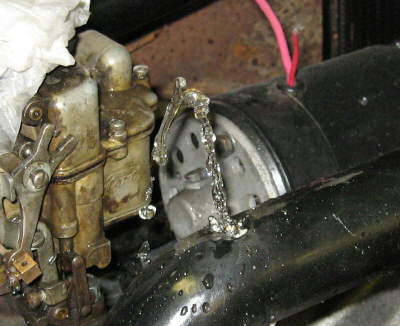 |
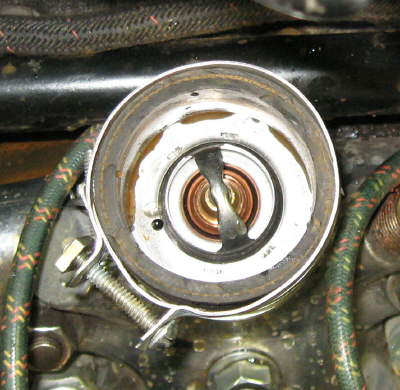
I tried to weld without empty out the water, did not work ,-) so i had to do it properly. | |
| Rigged up a battery and started the engine to see if the generator worked. Its an Ford original modified to use a later regulator, and its converted to 12Volt 30 Amps | 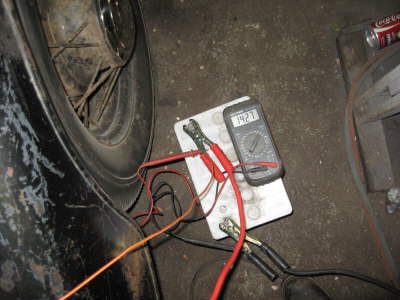 |
|
 |
||
| The it was time for some cover up work. | 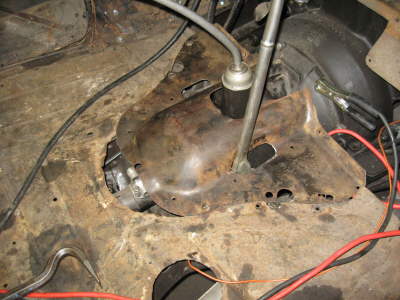 |
|
 |
||
| Cleaned up the floor with a wire brush. | 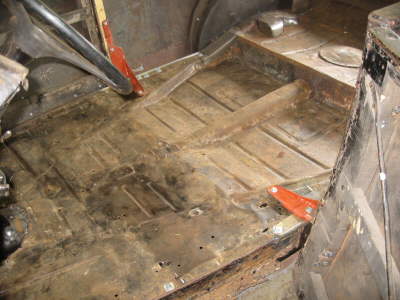 |
|
 |
||
| Some flat black paint,and it looks like new almost. | 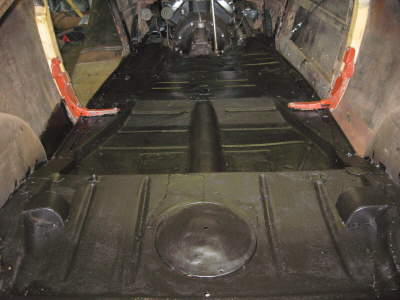 |
|
 |
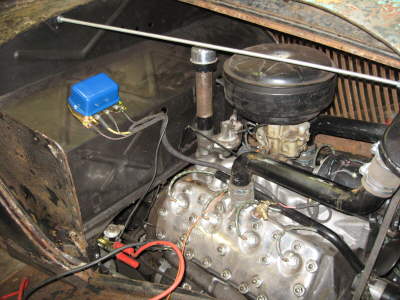
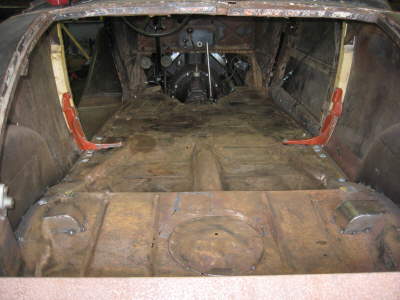
Bought this foot rest, over ten years ago, and now i got to use it. | |
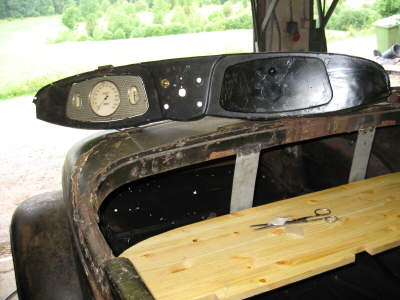
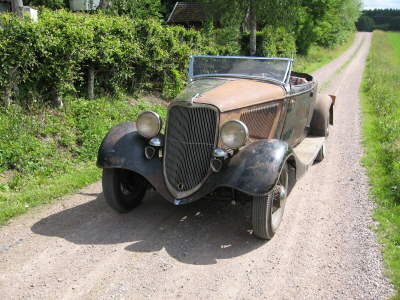
| Starting to look like a car. | 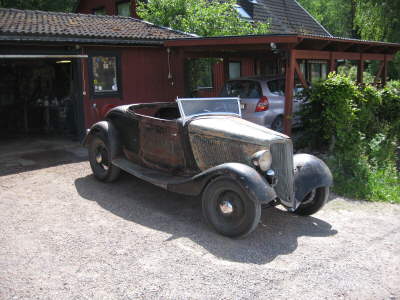 |
|
 |
||
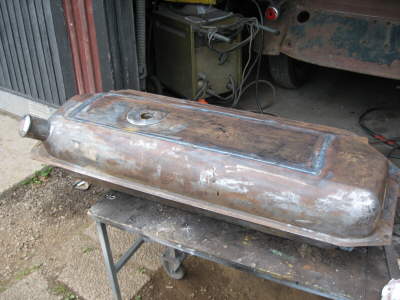
| Remember the fuel tank? | 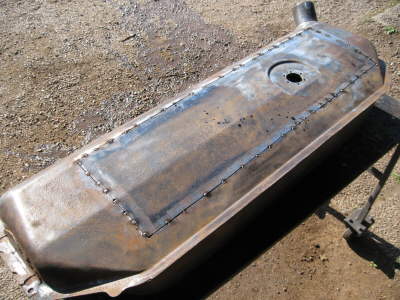 |
|
 |
After wire brushing the inside, i filled it with water and welded back the piece i removed to get access | |
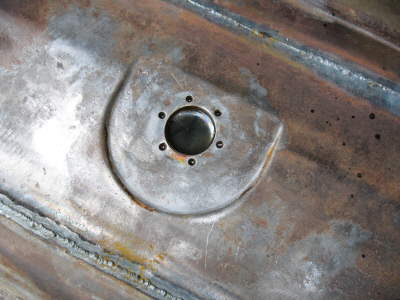
| I had to silver solder the plug in the bottom, to prevent a leak there. | 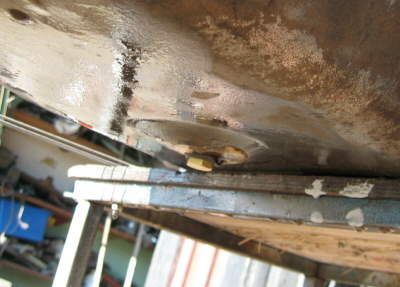 |
|
 |
||
 |
||
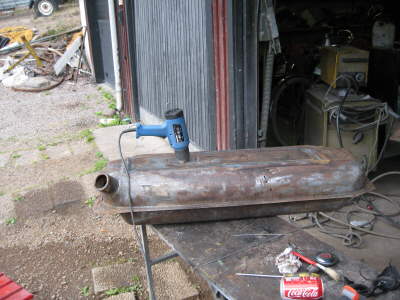 |
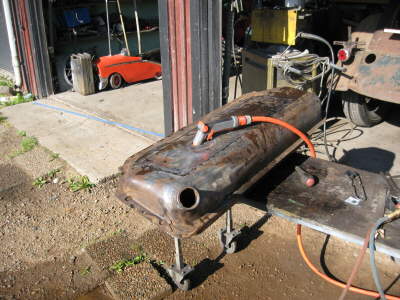
After i got all the water out of it, i used a heat gun, and left it there for an hour, Maybe not the best idea i got maybe, but i was not standing around for it to blow up. and it went OK. | |
| Some more flat black paint. | 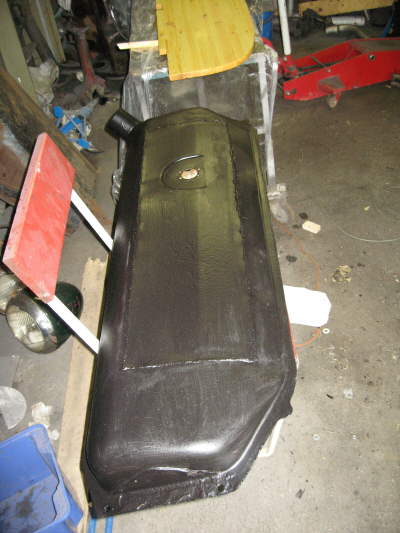 |
|
 |
Then it was time to setup the fuel line. Used a copper line and original mounting clamps | |
 |
||
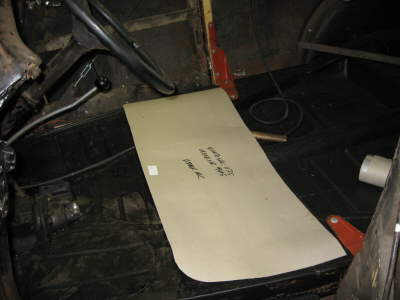 |
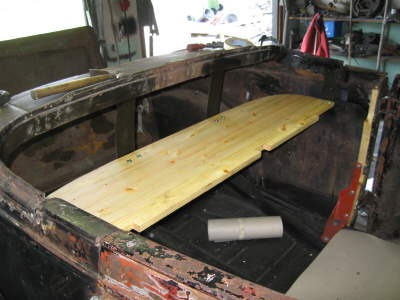
Fortunately i have a friend that is restoring another Roadster so i went over to him, and made paper templates of the seat parts. and rear shelf | |
| Here is the new package shelf, used clear lacquer to get a good surface. | 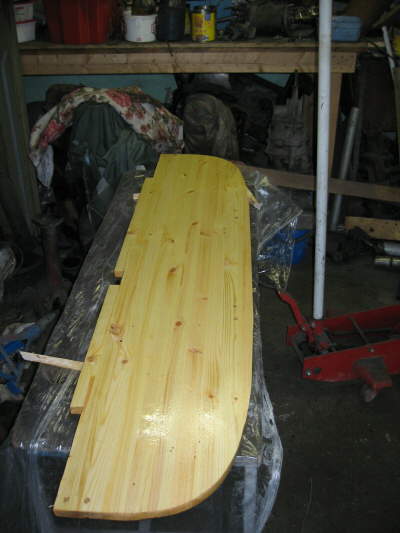 |
|
 |
||
 |
||
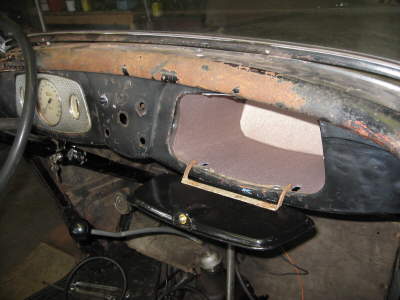 |
Glove box and new lock in the lid, looking good. | |
 |
||
 |
||
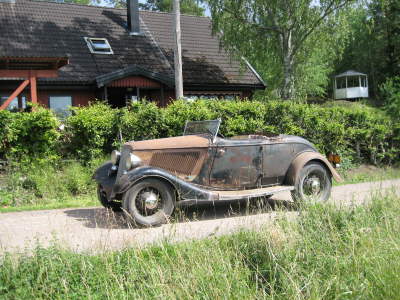
| Time was flying. and i did not made it inspected to Power Hot Rod Reunion meeting, so i had to use a trailer. Next year i will drive it. | 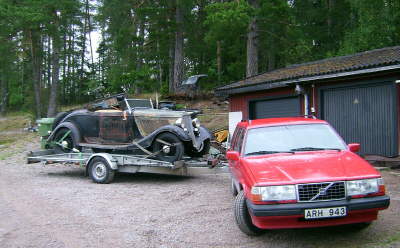 |
|
 |
Spent a good day at Malmby. | |
Copyright © 2008 Flatlanders, All rights reserved.
No pictures on this home page may be reproduced without written permission of the WEB master.