
| After all the frame repair, it was time to check out the axle's
and engine parts. I'm only repairing parts at this stage. since I will try
to get
all the paperwork done and get the car thru Svensk Bilprovning (Government inspection). So if you think I'm taking shortcuts, please have patience I will do it properly later. And it's nice to be able to drive it in the summers and do repairs in the long Swedish winters. |
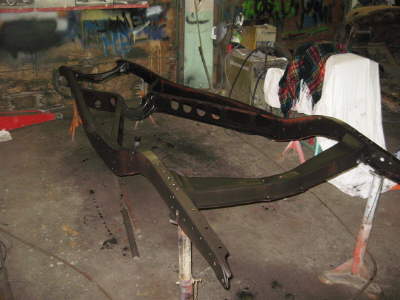
| After the frame repair it was time to put some flat black on it. |
 |
 |
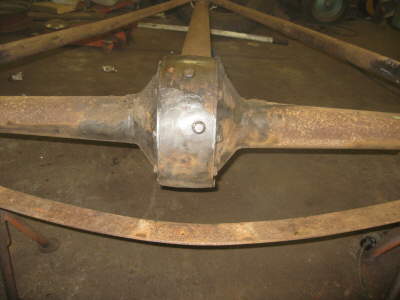
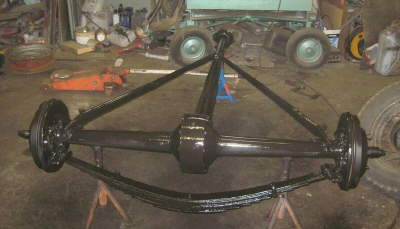
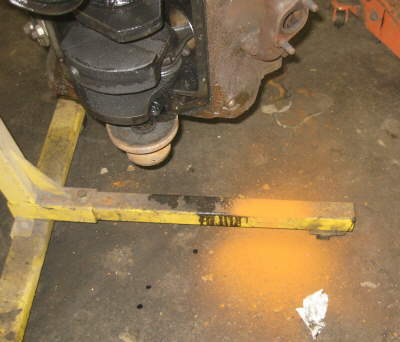
Then it was time to remove the dirt off the axle, this is the before picture. |
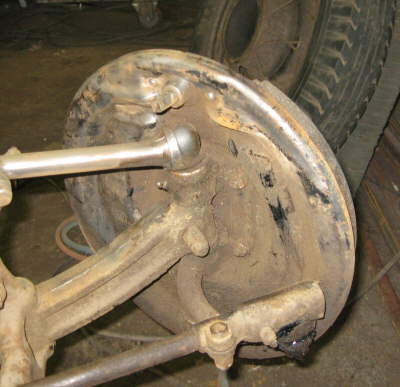
| Removed the front brake drums, no big problem here. | 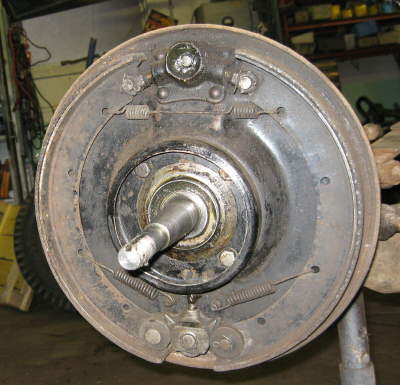 |
 |
Took the springs apart and grind of all rust, and cleaned off the wear marks, assembled it with some grease and they work like new. This is a dirty job, but well worth the effort. |
| This is the underside of the spring, rounded of the ends a bit so it will slide better. | 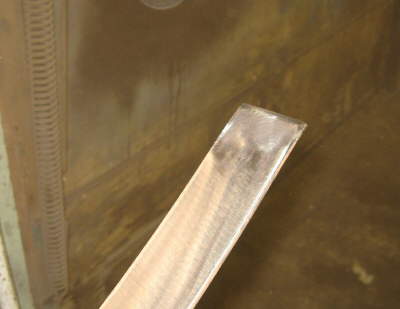 |
 |
More flat black paint, look much better now. |
| Cleaned up the brake parts, checked for problem all was OK, and no need to replace anything. | 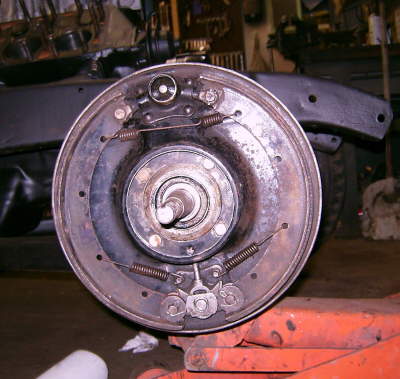 |
 |
Drum in place with newly greased bearings, normal service:-). |
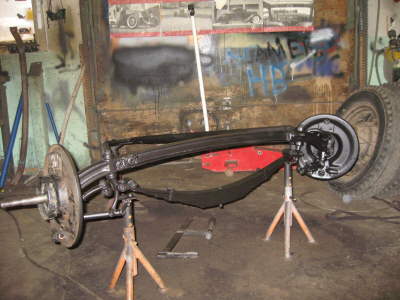
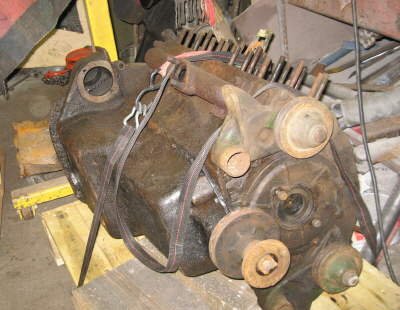
| Then it was time for the rear axle. | 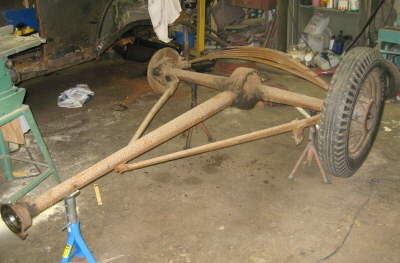 |
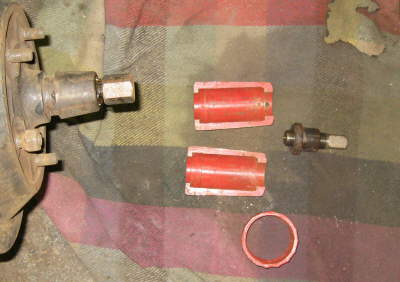 |
This is a mandatory tool to have when you own an old Ford. |
| Mount the protection nut on the axle first, then assemble the adapter like this. | 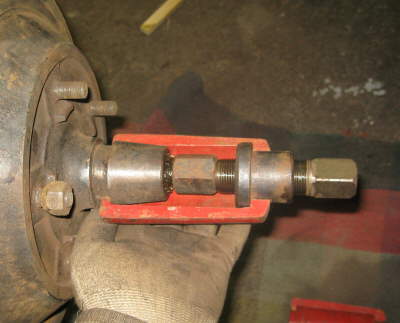 |
 |
Tap on the ring snug when you have assembled the two halves. |
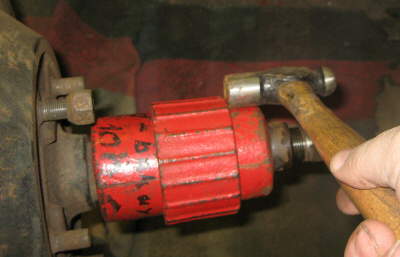
| Then hit it with a BIG hammer, a couple of times. | 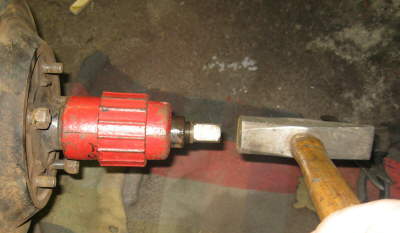 |
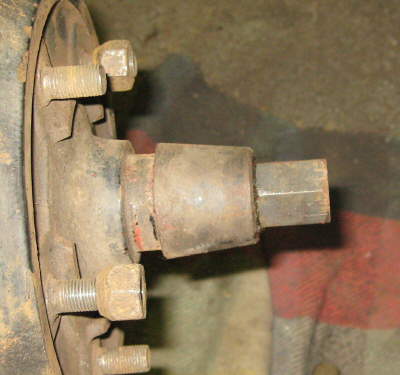 |
When the drum are loose, don't forget to remove the protection nut.. |
| Some grease and oil but no big surprise here either. | 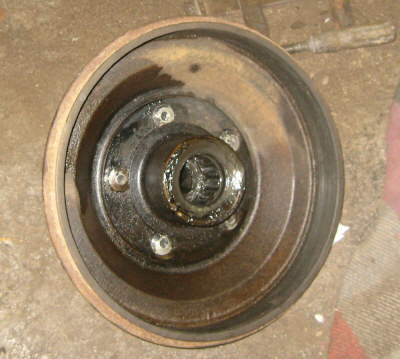 |
 |
Just some cleaning up to do, sort off. |
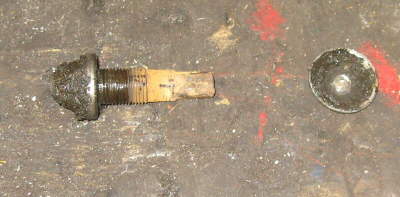
| Here rust have done its work and stuck things up.
|
 |
 |
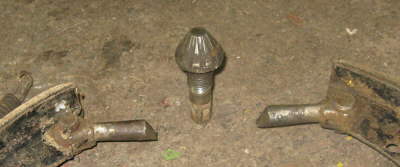
More rust. |
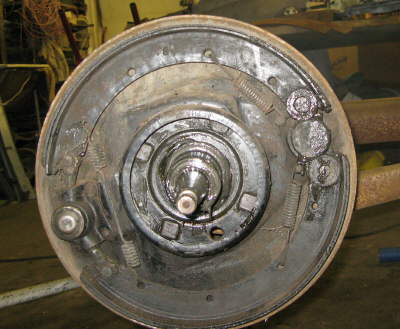
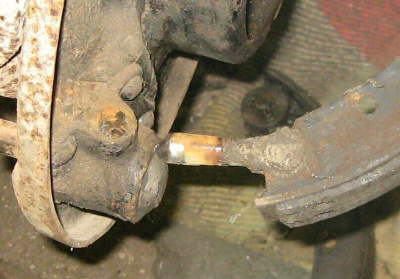
| On the other side, things started to look a bit odd, can you see the fault? |  |
 |
The brakes was mounted backwards, and the adjusting bolt was faulty mounted. And when they adjusted it the bolt hit the drum, causing it to drag, then they probably backed of the bolt until the drum turned freely. With no effect on the brake setup at all!!! |
| OK now it starts to look better, | 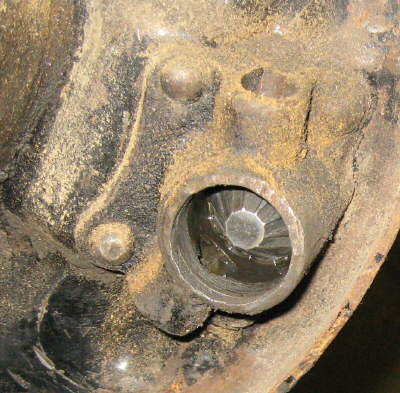 |
 |
For cleaning of the rust i used a big wire brush on an angle grinder.
|
| These shock's mounts have to go, i will make new later. | 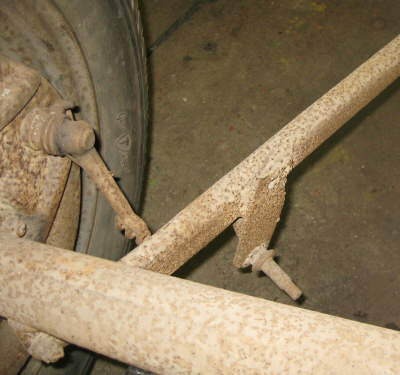 |
 |
Just some more grinding to do and you cant see that it was there at all. |
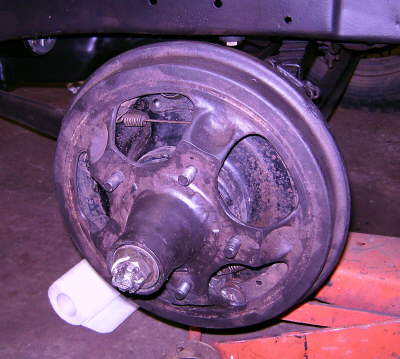
| Someone has brassed a bolt to the oil plug making it much easier to do service. | 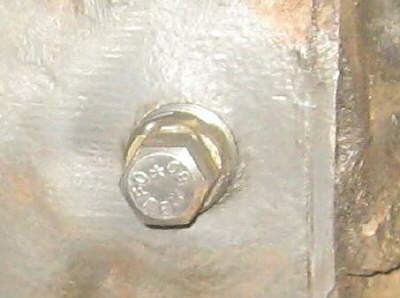 |
 |
Ok do i have to tell you what type of paint i used ;-) (flat black) |
 |
|
 |
OK so now it starts to look interesting.
|
| First i had to check out the old 59 AB i laid my hands on, the one that
came with the car had the pistons stuck so i had to hammer them out with
a hammer. If you are interested how it was done take a look here Removing
pistons from a 59 AB Flathead
Don't forget to come back :-) |
 |
 |
Ok so this looked a bit grimy to, but it turned over freely. |
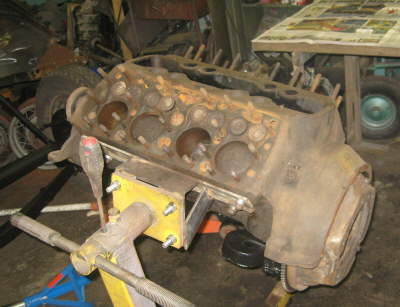
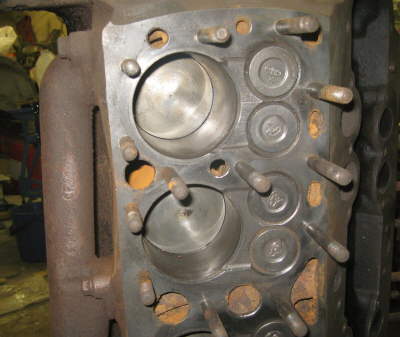
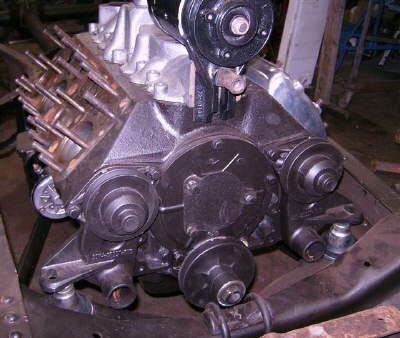
| Some use of the big wire brush and things looked this nice, it seams the engine was overhauled sometime. All valves are exhaust valves, it has hardened seats in all places and a factory relive job. i think its a truck engine since it has an 11" clutch. | 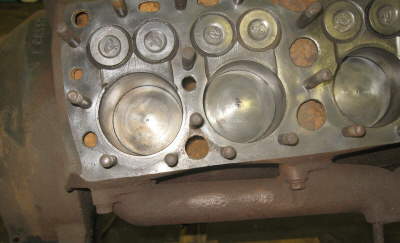 |
 |
I removed a LOT of rust in the water channels. And i mean a LOT. |
 |
|
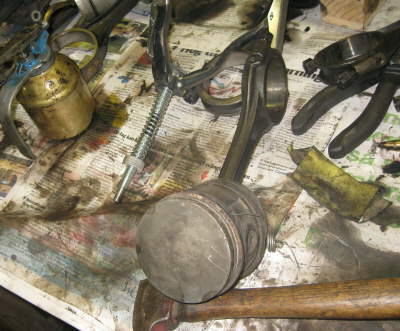 |
Three of the pistons had stuck piston rings, but after some soaking in kerosene, and some heat they loosened up easy. Remember I'm only fixing it up to get it thru the inspection, and i have another engine that will get at proper job done. If your are interested in Hot Rods check out his Hot Rod Link |
| Ok its not as clean as an operating table, but it will have to do for now. | 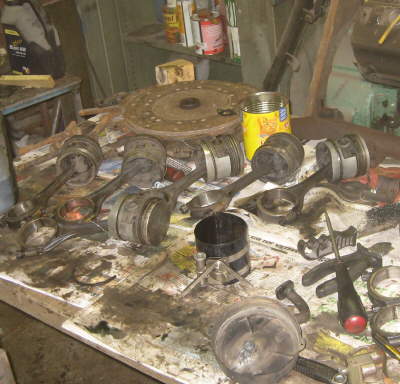 |
 |
The oil pump checked out OK to, and here i have filled it with grease to make the first start easier priming the oil, I'm using Loctite on the bolt's so the stay in place. |
| Then it was time to assemble the pistons again, i cleaned up the cylinders with a cheap honing tool, probably mad more damage than good. |  |
 |
I bought a new gasket set, you cant save on everything ;-) |
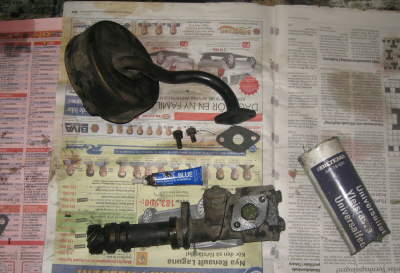
| Dug up this NOS Lucas distributor, i bought in 1999. | 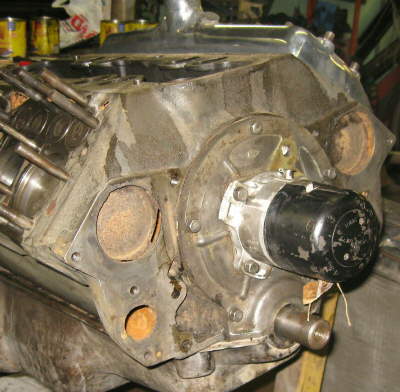 |
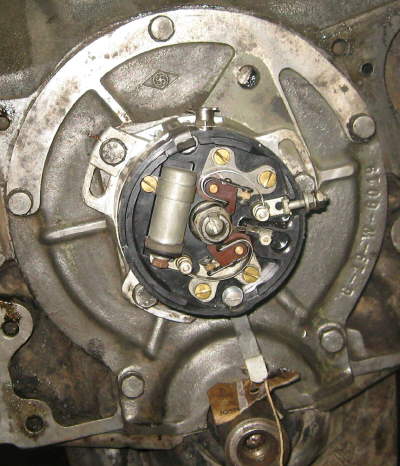 |
its a nice little dizzy with double breakers and four lobe cam. |
| Look's like a bomb don't it? ;-) | 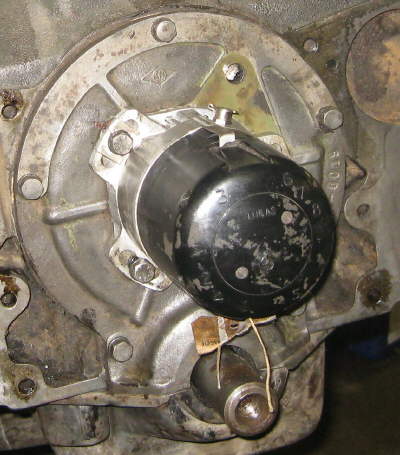 |
 |
I still had some flat black left. |
| So i lifted the engine up on its end, mounted some old cast iron heads and intake, instead of using masking tape. | 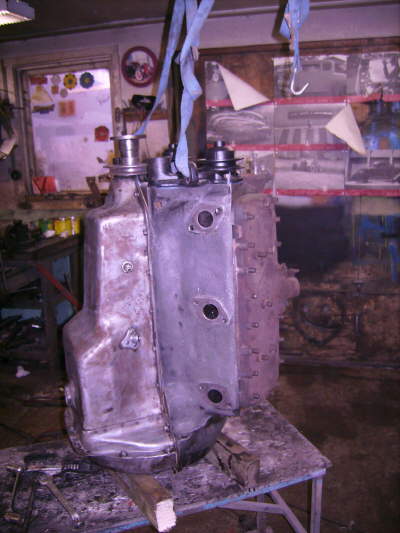 |
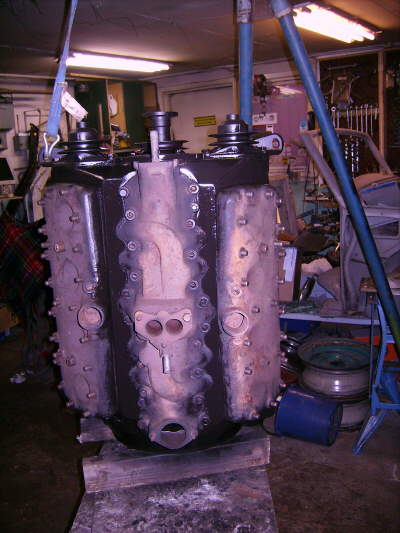 |
Then it was spray time. |
| Not bad at all if I'm allowed to say it myself. | 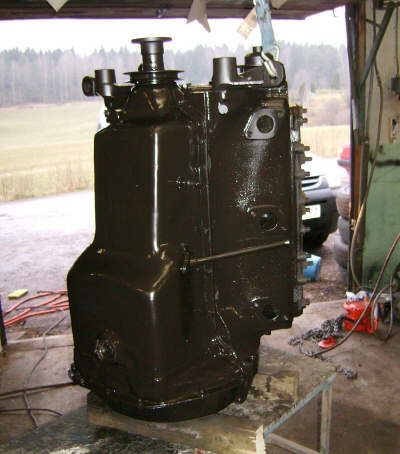 |
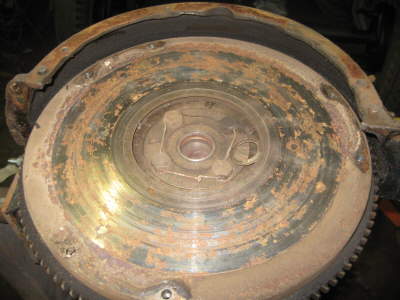 |
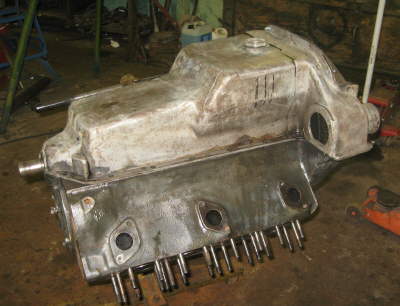
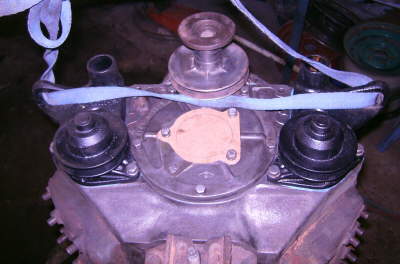
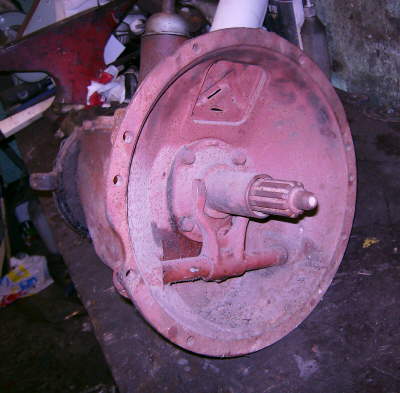
Back in the engine stand it was time to take a look at the flywheel |
| This does not look good, it seams the bearing had give up a long time ago, fortunately the bearing is the same from 1932 to 1964. So its easy to get at your local parts store. |  |
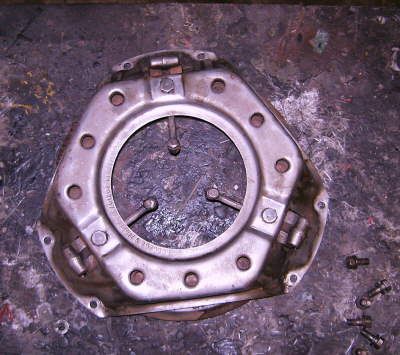 |
After some brushwork the pressure-plate looked good, checked out mechanical to. |
| Why do you have to buy everything new, when you can refurbish the old stuff. I mean it's probably worked ok when the scraped the car/truck and they had driven it thousand of miles more. | 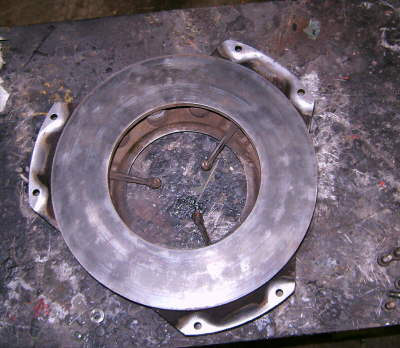 |
 |
It's a good idea to center the disc, since it's much easier to mount the gear box then. |
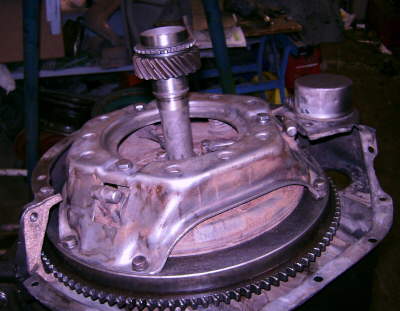
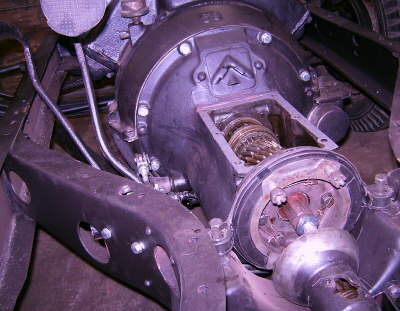
| Talking about gearboxes. this is a famous 39 gearbox. | 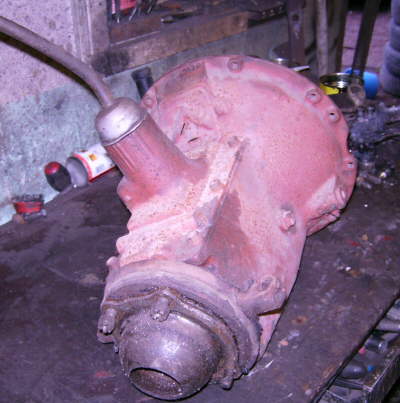 |
 |
It need e a bit of fondling to, but was practically mechanically OK. |
| I had to some minor work inside since a lock ring had move out of place, and i flushed it with some oil to clean out some old grease/oil residue. | 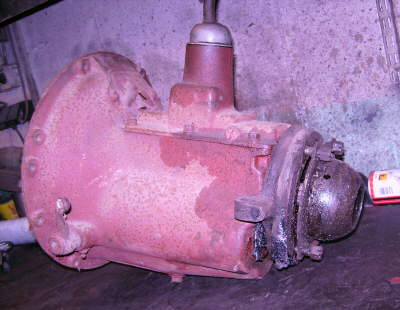 |
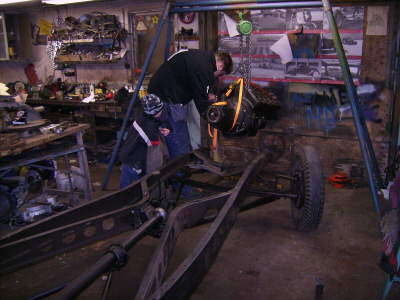 |
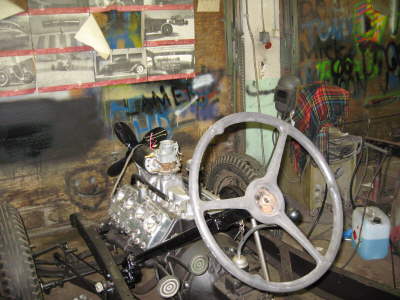
Mikael my oldest son and grandchild Max came over, and helped me mount the engine in the frame |
| I did not fill the gearbox with oil until it was mounted i the frame | 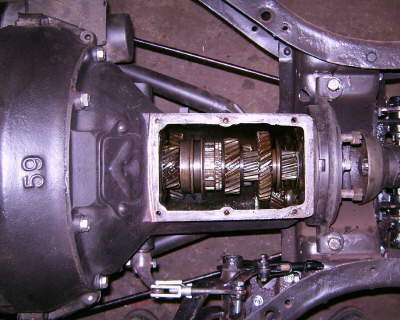 |
 |
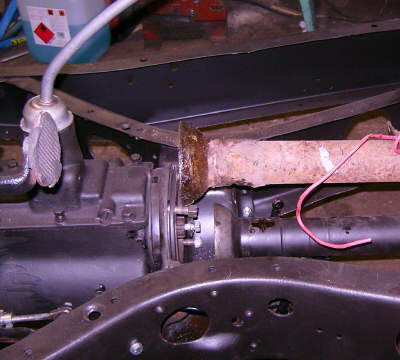
With everything mounted a new problem crept up
|
| Since the car came with an four cylinder , the props haft is 45 mm to short!!! How come you may say? The four cylinder engine has bigger cylinder diameter than the V8 causing it to be longer. | 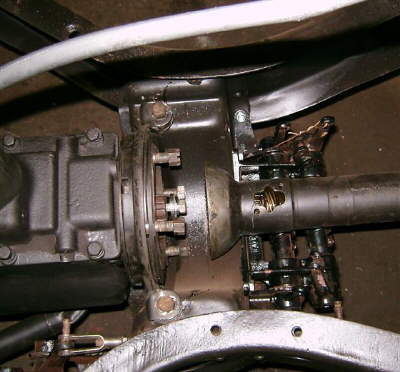 |
 |
Can you see the difference? |
| Scrounged up some V8 Parts, and we where on right track again. | 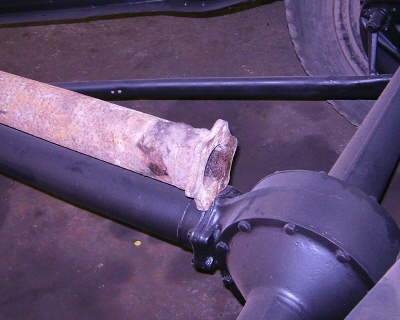 |
 |
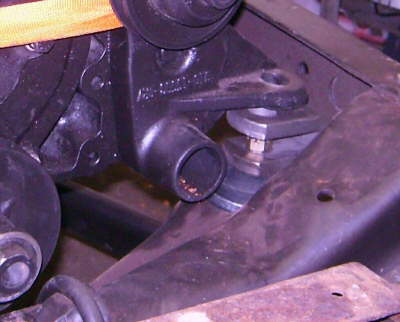
Another small problem is the front engine mounts. Since the engines with the water pumps in the head 32-36 had different mounting points. |
| First we have to fix the rubber mount, it said fits 32-48 blaha... | 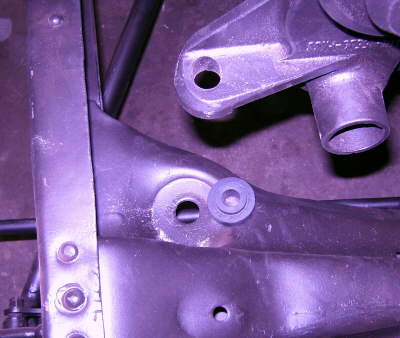 |
 |
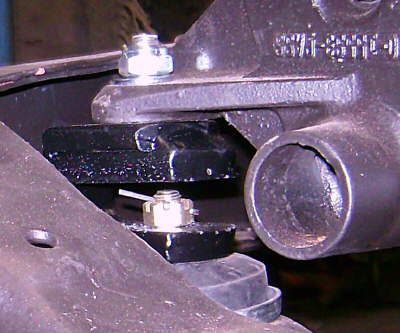
I had to grind of a bit to get the mount into the hole in the frame. |
| Ok now its better. |  |
 |
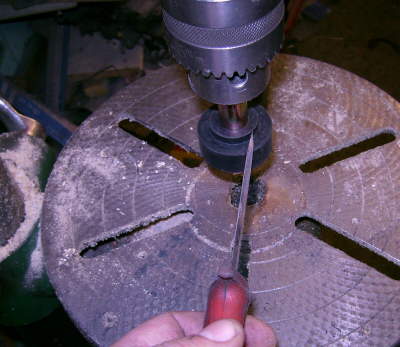
Ok so you can buy this on Ebay, but why when you can make then yourself. |
| My pre made U bends, was not high enough , so i added another 10mm drilled and tapped a 12mm hole (that's half an inch for you non metric guys) | 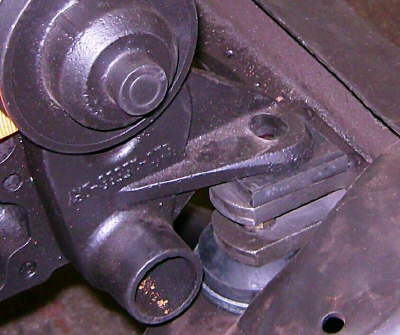 |
 |
Ok some shiny black now and it looks store bought sort of. |
| This is an Ebay find, its an old three brush generator converted to two brush 12Volt 30 Amp power station :-) |  |
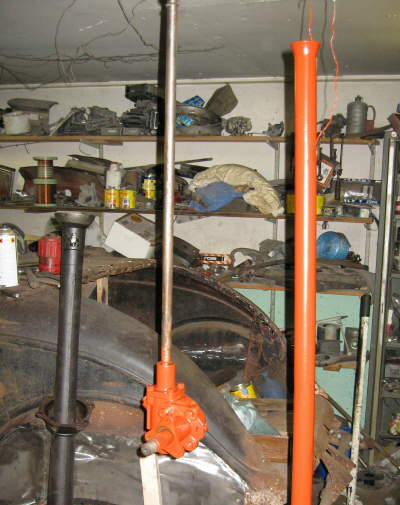 |
Some more wire brushing and painting, this time it was the steering box and column that got some attention. |
| I had to modify the hand brake handle since 33-34 have a special mount, so i used the original 30-32 mount with some more steel added to it. | 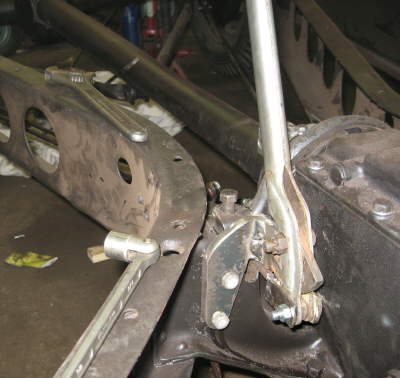 |
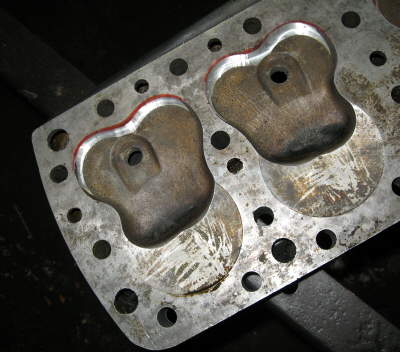 |
I don't now why this picture is here, but i had to add some clearance for the valves, since the NOS aluminum heads is for a pre 40 24 bolt engine. |
| What's this then? |  |
 |
?? |
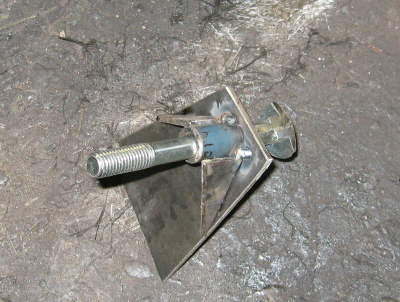
| Ok rear shock mounts, I'm using cardboard as pattern, to checkout the pattern (paper is cheaper than steel ) |  |
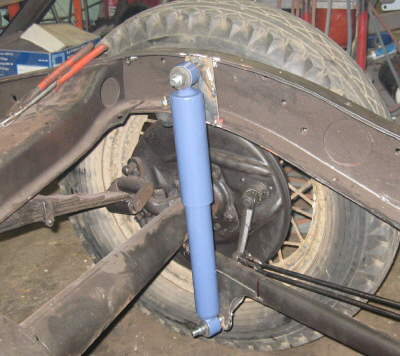 |
The shock's are Volvo 240 rear shock's because they where the cheapest i could find. |
| Once again it paint time. | 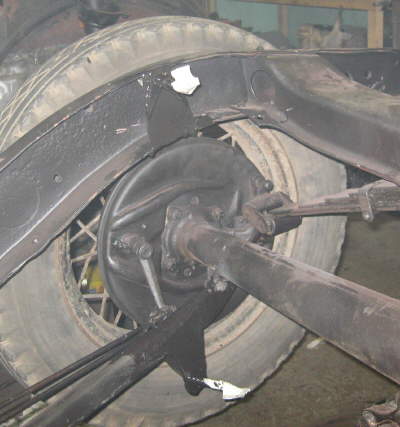 |
 |
|
| Its looking better and better, soon its time for a test drive :-) | 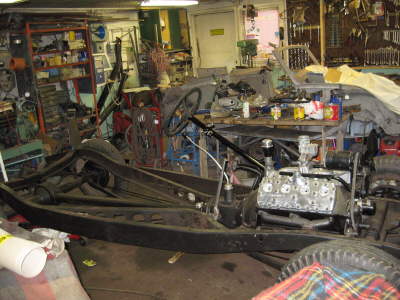 |
Copyright © 2008 Flatlanders, All rights reserved.
No pictures on this home page may be reproduced without written permission of the WEB master.
